Posts in Category: Recipes
A Few of My Favorite Things: Samphire
Two summers ago, I had samphire for the first time. Â I was a teaching assistant for a Shakespeare course and having a nice dinner in Stratford-upon-Avon and with a fellow T.A. when I bit into an an amazing, salty vegetable. Â My waiter called it samphire, which sounded delightfully exotic. Â Then I remembered watching King Lear the week before and hearing the lines:
Come on, sir; here’s the place: stand still. Â How fearful
And dizzy ’tis, to cast one’s eyes so low!
The crows and choughs that wing the midway air
Show scare so gross as beetles: half way down
Hangs one that gathers samphire, dreadful trade!
Methinks he seems no bigger than his head. (4.6.15-20)
Edgar says these lines to Gloucester as he peers over one of Dover’s cliffs and sees an unlucky man gathering Rock Samphire. Â Thus began my love of samphire!
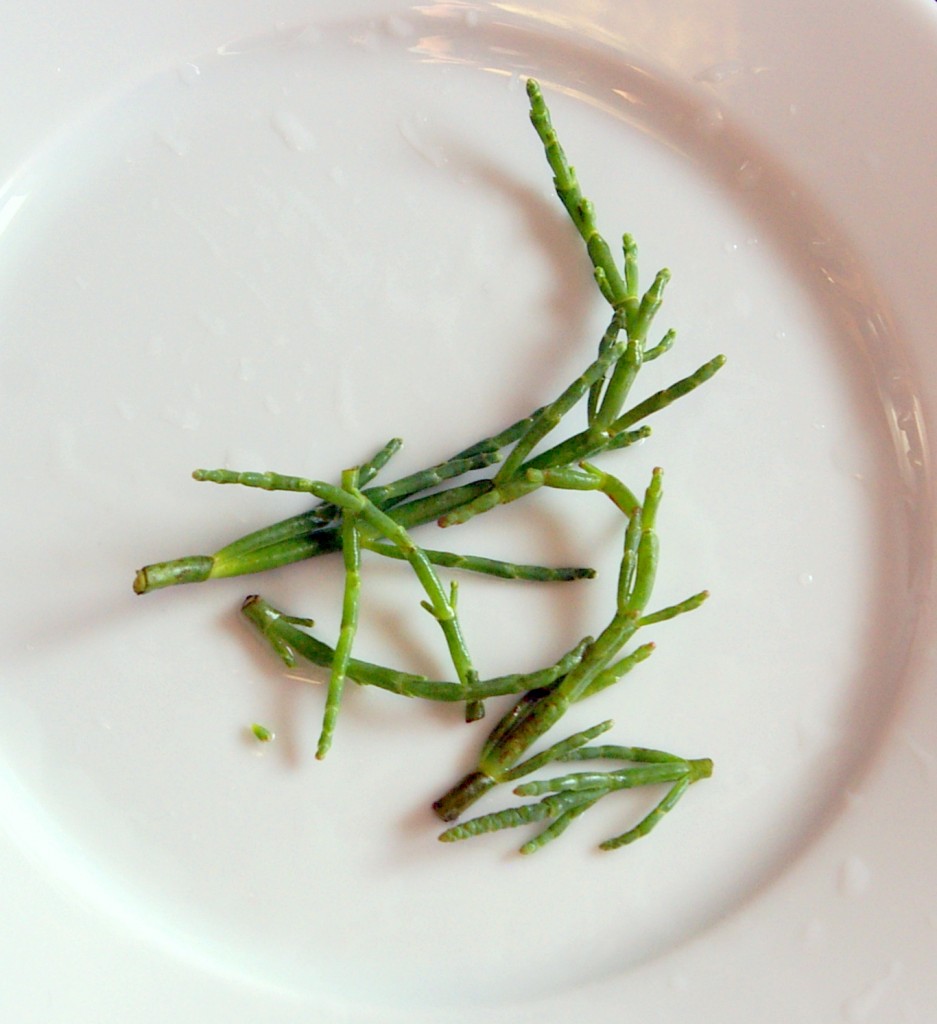
The salty annual you see pictured above is Marsh Samphire, which grows as an annual in marshy regions of the United States and England. Â It’s best to forage samphire during the spring and summer, although I found these at the Ballard Farmer’s Market last weekend. Â In the U.S., samphire is called Sea Beans or Glasswort, but I still call it samphire (a derivation of Saint Pierre, apparently). Â It’s sometimes called Glasswort because it was used in glass-making because it was so salty.
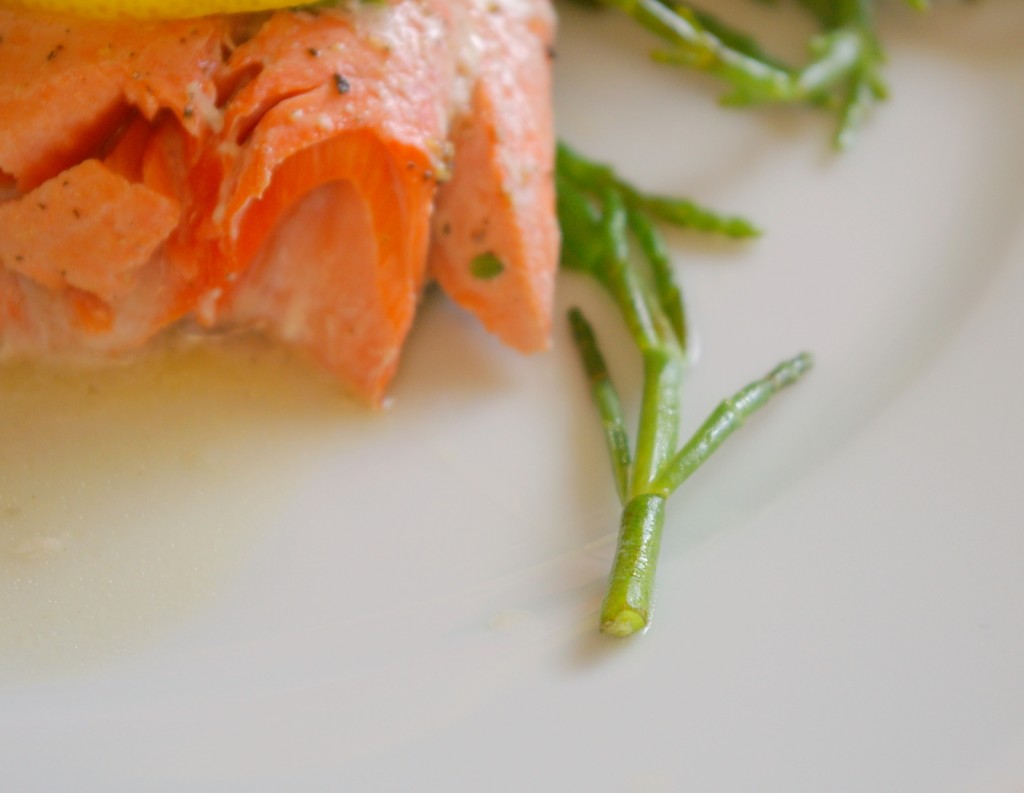
Tonight, I sautéed some salmon and added the samphire for the last few minutes of cooking, just to blanch it.  It’s crunchy, salty, tangy, and a perfect accompaniment to seafood.  It’s gaining popularity right now in the culinary community, and I wouldn’t be surprised if you start to see samphire/sea beans/glasswort showing up under your seafood or pickled, in your bloody mary.  (The most common way to eat samphire in many vintage recipes is to have it pickled.)
Sautéed Samphire with Thyme and Vermouth
1 tbsp. butter
1 tbsp. olive oil
2 tbsp. vermouth
1 tbsp. chopped thyme leaves
3 cups samphire/sea beans/glasswort
salt and pepper to taste
a squeeze of lemon
1. Heat skillet and add butter. Â Stir until melted. Â Add olive oil and vermouth and stir until mixed.
2. Add samphire and thyme. Â Bring liquid to a simmer and cover with lid for 5 minutes.
3. Uncover and add salt, pepper, and a squeeze of lemon juice. Â Stir until samphire is well-coated.
4. Â Serve with seafood!
(I poached my salmon in the butter, olive oil, and vermouth mixture (along with a little water) and then added the samphire for the last 5 minutes!)
Cooking like Grandma
Part of the reason why I love vintage recipes, especially handwritten ones, is that they’re not as rigid as the recipes in today’s cookbooks. Â It’s a mixed blessing, since there have been times I’ve experimented with a handwritten recipe and had it turn out horribly. Â (A few of my friends got to experience my rhubarb-custard pie last month that turn into a rhubarb quiche!)
As users of contemporary cookbooks, which over-explain every slice and dice, we don’t have a file of recipes in our heads. Â For instance, I never saw my grandmother cook a pie using a recipe. Â By the time I came around, she knew all the twists-and-turns of her recipe for pie crust. Â A recipe would have held her back!
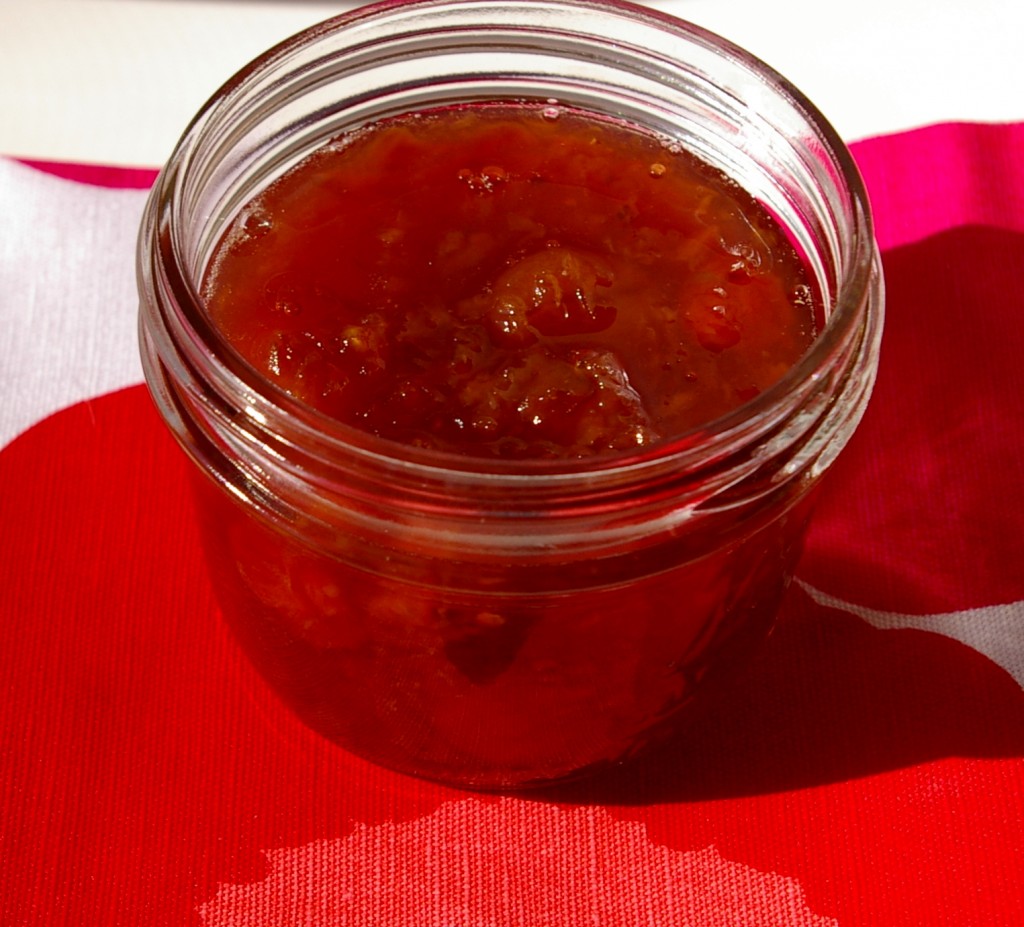
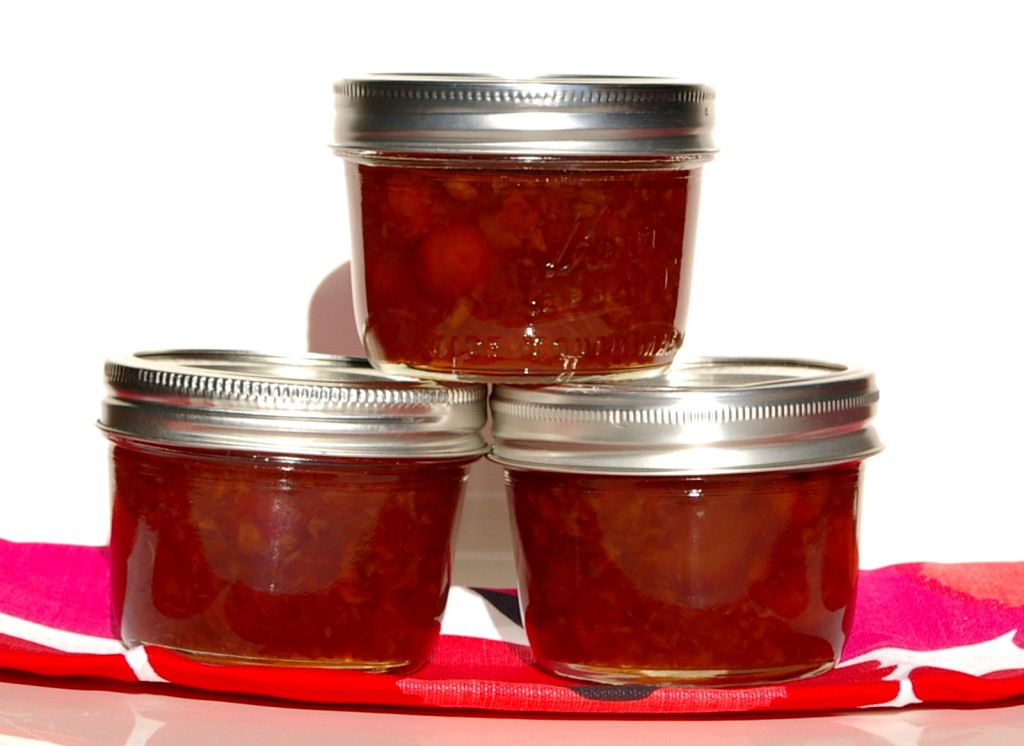
The same goes for making simple jellies and jams, so you can imagine how happy I was when I ran across David Lebovitz’s “recipe” for Cherry Jam. Â My neighbor emailed me to let me know that she had some extra cherries from her tree — since they were pie cherries (sometimes called sour cherries), I knew immediately that I wanted to make some cherry jam. Â I mixed these pie cherries with some Rainier cherries and I have to say, it’s some of the best cherry jam I’ve had! Â I left about a quarter of the cherries whole, which Mr. Lebovitz recommends, and I have to say, they are my favorite part. Â The jam was a perfect addition to my morning toast–tart, sweet, and tangy. Â I didn’t have any kirsh and (in my gleeful haste to put my perfect jam into jars) I forgot to add the almond extract and the jam is still a winner!
Reviving a Corpse, and Other Tales
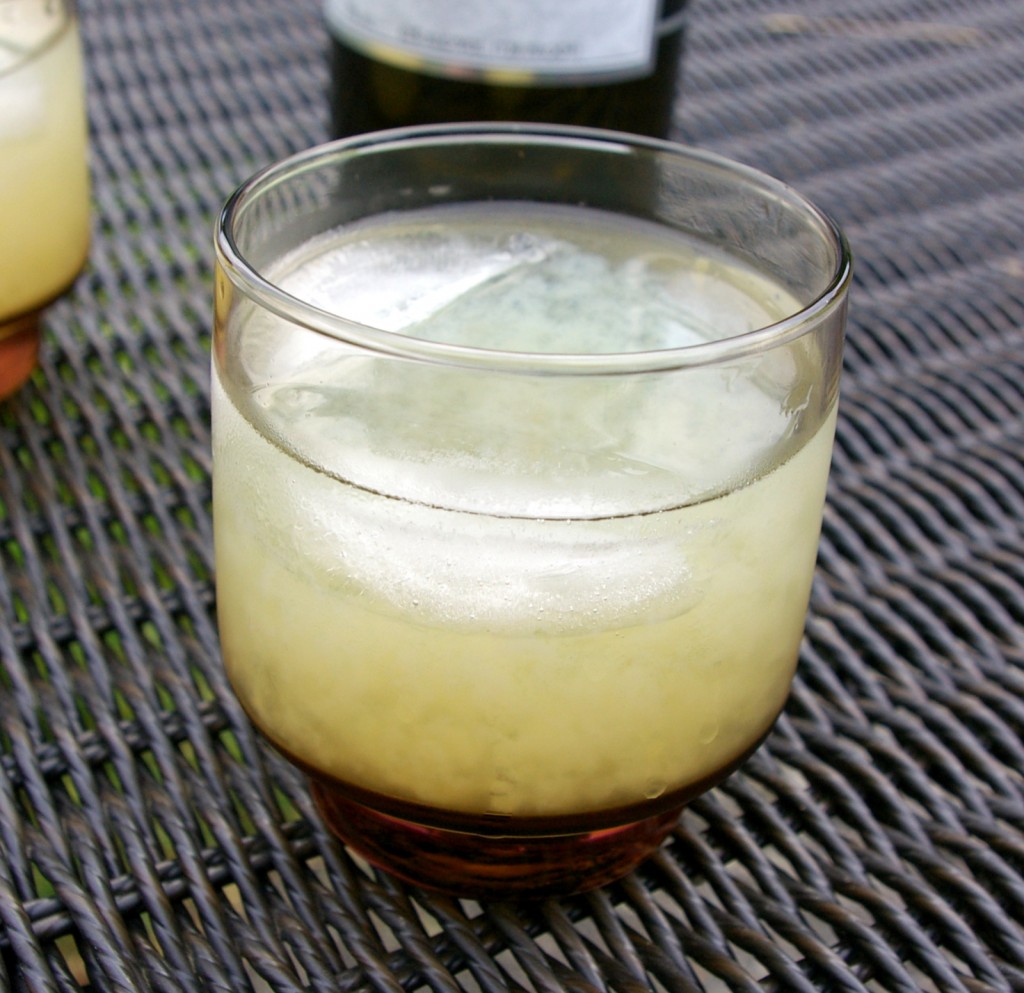
Kevin has been making an awesome ‘new’ drink lately.  He takes gin, lemon juice, cointreau, and absinthe–gives it a good, hearty shake, and I’m telling you, creates my new favorite drink of the summer!  What is this magic drink, you ask?  A corpse reviver!  And I promise you, this drink will (as this 1867 publication on London Life suggests) “fill us with extraordinary courage and determination.  Our self esteem rose by fifty percent, and with it, our indignation!”  Yes, that quotation is actually referring to a drink called a Corpse Reviver, but I’m not sure it’s the same drink to which Kevin keeps returning.
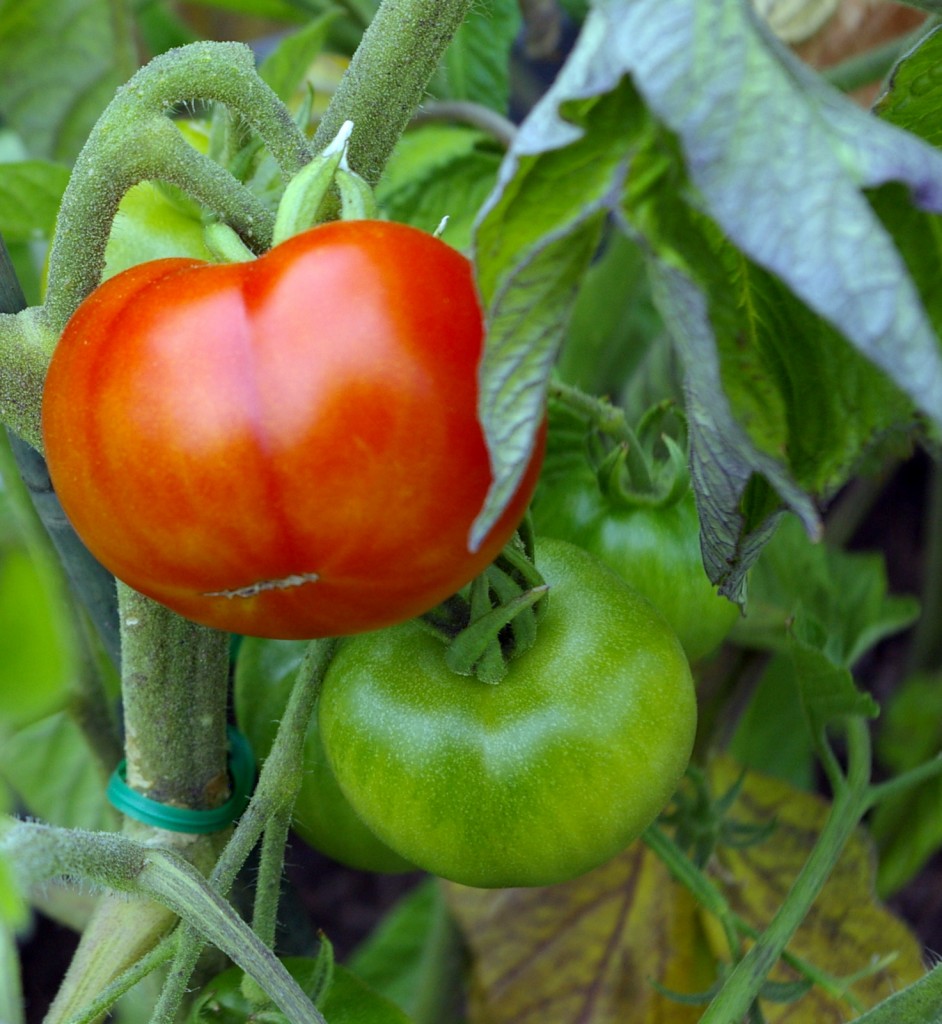
As I’ve posted previously, Seattle has been a rainy mess. Â Spring came and went without a real hint of sun. Â It’s only the past week that we’ve seen any hot weather. Â This California girl is loving the 90 degree temperatures (and our tomato crop is as well). Â We actually have a ripening tomato, folks!
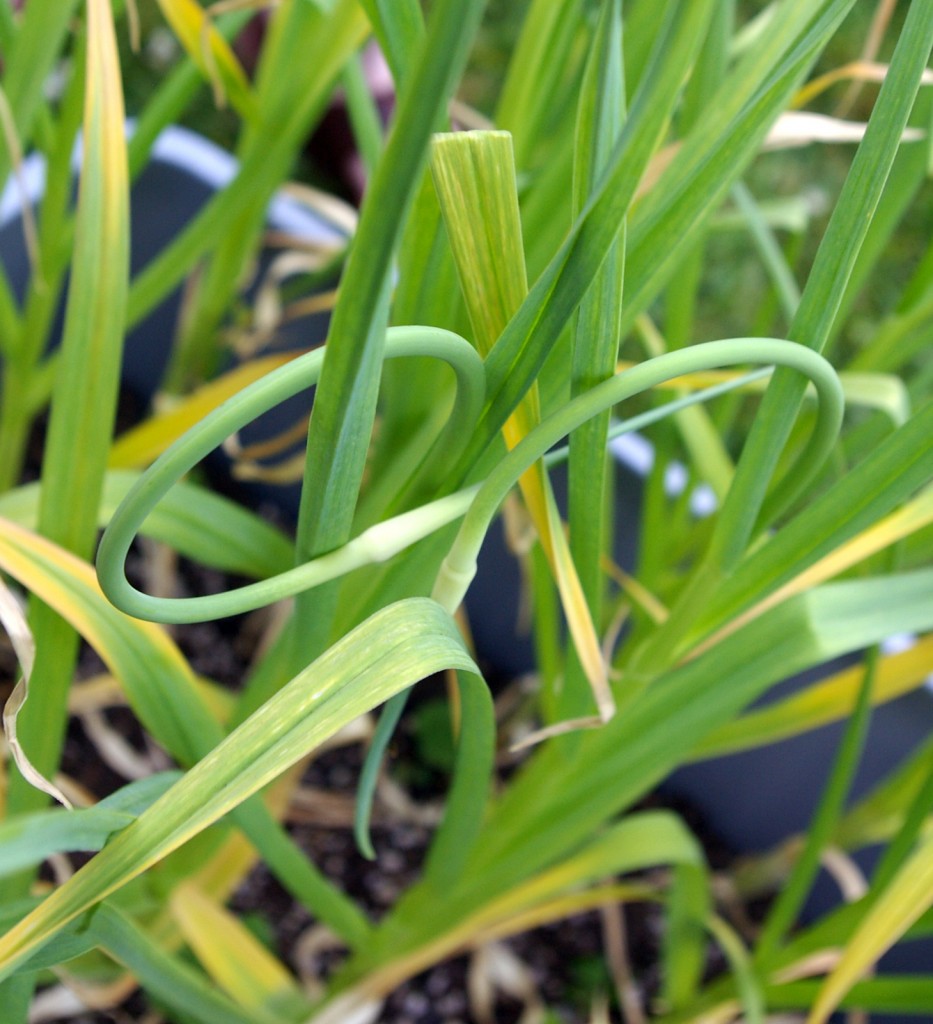
Isn’t it beautiful? Â Tonight, we sat in our backyard, sipped a Corpse Reviver, and marvelled in the changes our garden has gone through in the past few week. Â Our garlic is finally growing scapes that are turning in their familiar circles, like little kitchen timers.
But back to the fabled drink!  There are two distinct recipes for Corpse Revivers.  One, involves maraschino cherry juice.  We will not speak of that one.  The second, based on a recipe from the 1930s Savoy Cocktail Book, comes from a recipe I found in the Washington Post.
Corpse Reviver #2 for Two
4oz. gin
4 oz. cointreau
4 oz. lemon juice
4 oz. Lillet Blanc
1 1/2 tsp. absinthe (we’re big fans of Pacifique Absinthe by Pacific Distillery)
1. Add ingredients to cocktail shaker along with ice and pour into cocktail glasses of choice. Â We used our favorite Libby old-fashioned glasses we found at a local estate sale.
**Don’t be alarmed if your drink gets a little cloudy! Â Absinthe reacts with water (much like unfiltered whiskey) and forms the infamous la louche.
Back to Basics
If vintage cookbooks and recipes are good for one thing, it’s to give today’s cooks basic recipes to revisit and revise, especially recipes like banana bread. Â I’m a finicky banana eater. Â If our bananas have any brown spots at all, I immediately give them to Kevin and turn my back on their starchy goodness. Â In fact, I like bananas that still have a hint of green on them so that they’re almost a little crunchy when I take the first bite. Â I know, I know, green bananas aren’t very banana-y yet, it’s more a texture thing than anything else.
Which is to say, as soon as our bananas show any hint of ripeness, I begin to scour our cookbooks for banana bread recipes. Â Even though everyone has the best banana recipe (seriously, ask any home cook and they will always have one that has been passed down from various aunties or family friends) I haven’t found one that I can call my own.
I should just use my grandmother’s, but hers involves a layer of cream cheese frosting, so while it’s technically a banana bread, I feel a little guilty having a thick slice in the mornings. Â Although when I was a kid, my sister and I would methodically eat our banana bread from the bottom up so that we could save the frosting-lined piece for the very end. What bliss!
But I digress. Â I looked through cookbook after cookbook and found many strange recipes for banana bread. Â A few recommended that the banana bread be served as sandwich bread and, for the life of me, I cannot imagine eating a ham sandwich on banana bread. Â *shudders* Â I also found many recipes from c. 1900 that touted the use of banana flour. Â Banana bread as we now know it came about in the 1950s, as this ad from a 1953 issue of Life magazine suggests. Â Perhaps, if I can’t get a job in academia, I can bake banana bread to make some cash!
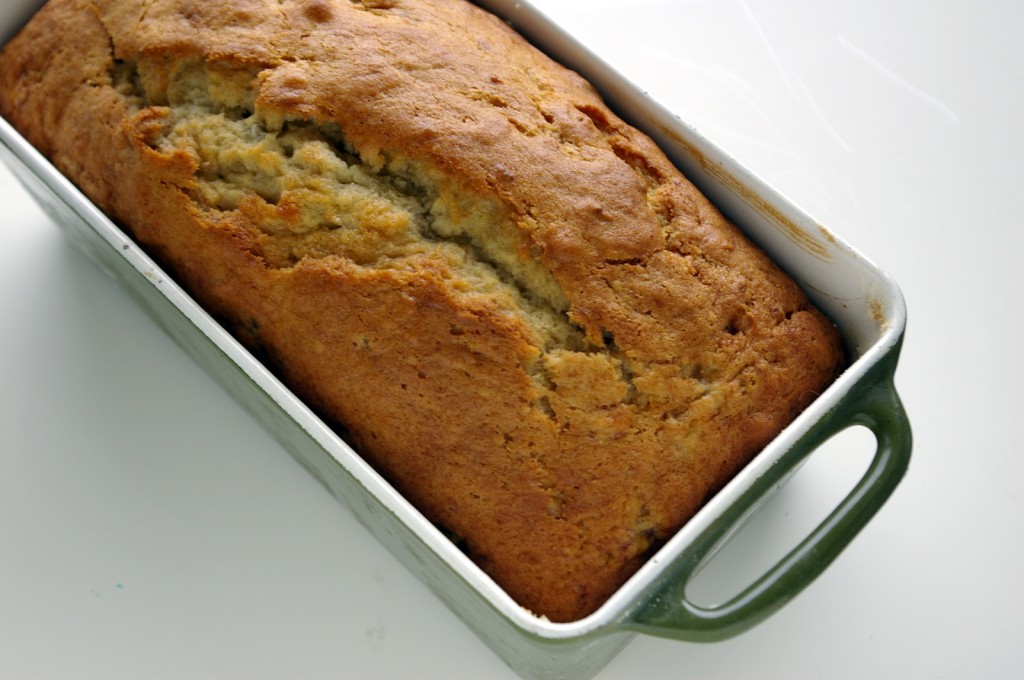
This recipe comes from the 1962 printing of The Good Housekeeping Cookbook. It’s a solid, base recipe, and I am going to start tweaking it with some whole-grain flour next. Â It was flavorful and had a very good crumb. Â I was even able to use my new (well, new to me) enameled cast iron Copco bread pan. Â I *loved* this bread pan because it made the entire bread have a great brown crust!
Banana Bread
Adapted from the 1962 Good Housekeeping Cookbook
1 3/4 cups flour
2 tsp. baking powder
1/4 tsp. baking soda
1/2 tsp. salt
1/3 cup and 1 tbsp. butter
2/3 cup sugar
2 eggs
3 mashed bananas
1/3 cup chopped walnuts
1. Heat oven to 350 degrees and grease a 9″x5″3″ loaf pan.
2. Mix together flour, baking powder, soda, and salt.
3. With electric mixer cream butter and sugar, then add eggs until mixture is fluffy and light.
4. Add flour mixture alternatively with bananas until just mixed.
5. Stir in walnuts and turn into pan.
6. Bake for 1 hour.
Nobody Here But Us Chickens!
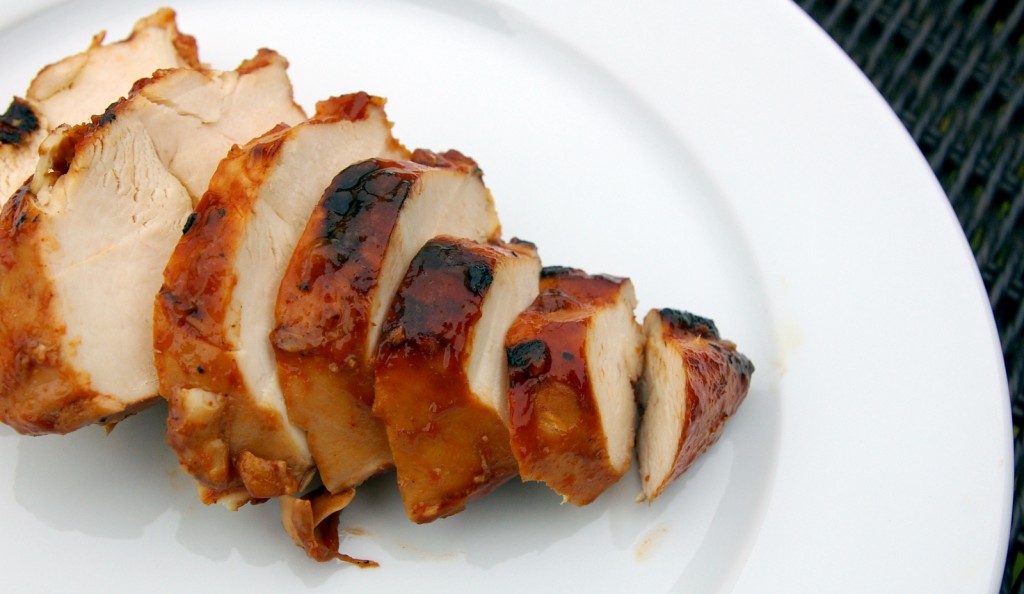
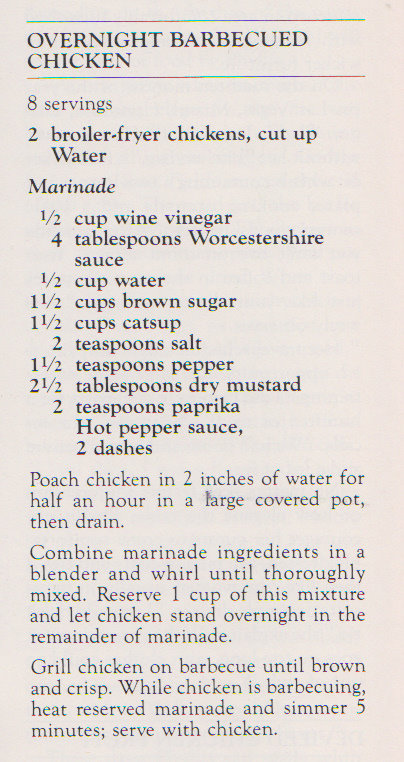
Growing up in California, grilling was a year-round experience. Â Here in Seattle, grilling is much more pleasant in the summer and early autumn. Â This summer, sadly, the temperature hasn’t gotten about 75 yet. Â So this California girl stares out the window, watching it drizzle and dreams of tortilla chips and guacamole on a sunny porch, tanned legs, and clinking cocktail glasses. Â Oh, it isn’t all bad in Seattle, I promise. Â We have beautiful springs full of cherry blossoms, but nothing will take the place of those too-hot California summers in my head. Â In spite of Seattle’s sunless skies, I decided that I was barbecuing, even if it was pouring outside. Â I invited friends, who brought over yummy vegetables to grill, and I decided to try Phyllis Diller’s recipe for barbecued chicken.
It’s a simple recipe for barbecue sauce, but it was tangy, spicy, sweet, and received rave reviews from the entire group. Â A few recipe notes: I used ketchup that had no high-fructose corn syrup and, instead of hot pepper sauce, I used 4 liberal squirts of sriracha since I like my barbecue sauce on the spicy side.
So, while Seattle doesn’t have many sunny days, I can still eat barbecued chicken and lick my fingers like I did during my childhood. Â And this time, my mother wasn’t there to give me the “you’re being rude at the dinner table” look!
Harried in the Kitchen
Dear readers, I have been so busy! Â So harried, in fact, that I haven’t cracked open a vintage cookbook for a few weeks. Â My advisor has given me a deadline for my completed dissertation: August 15th. Â It’s just around the corner! Â So, needless to say, I’ve been freaking out and not cooking a lot.
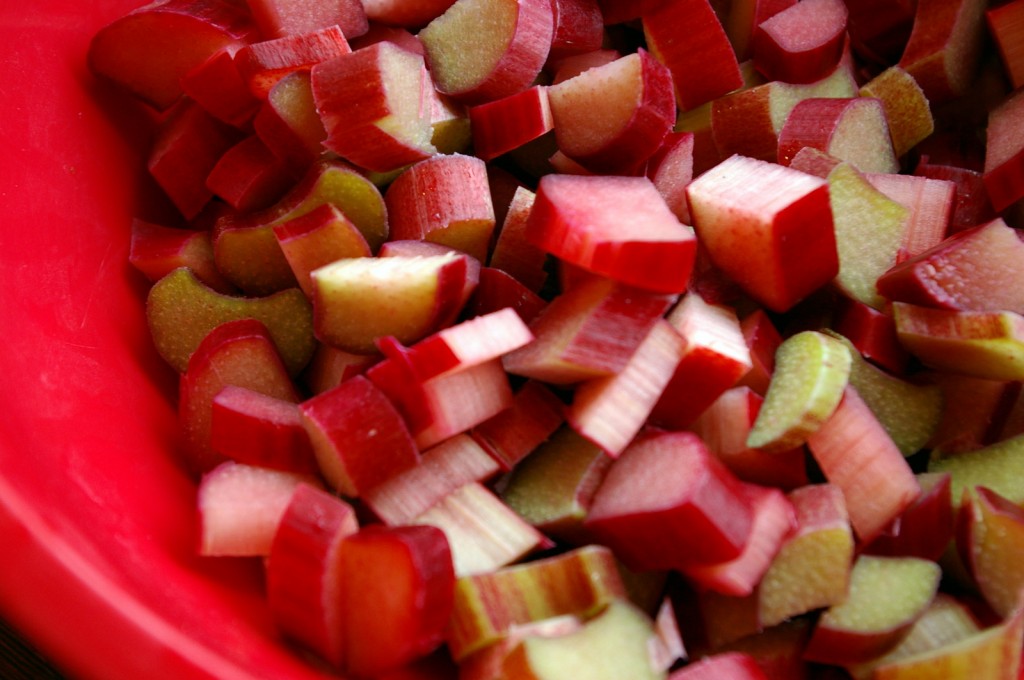
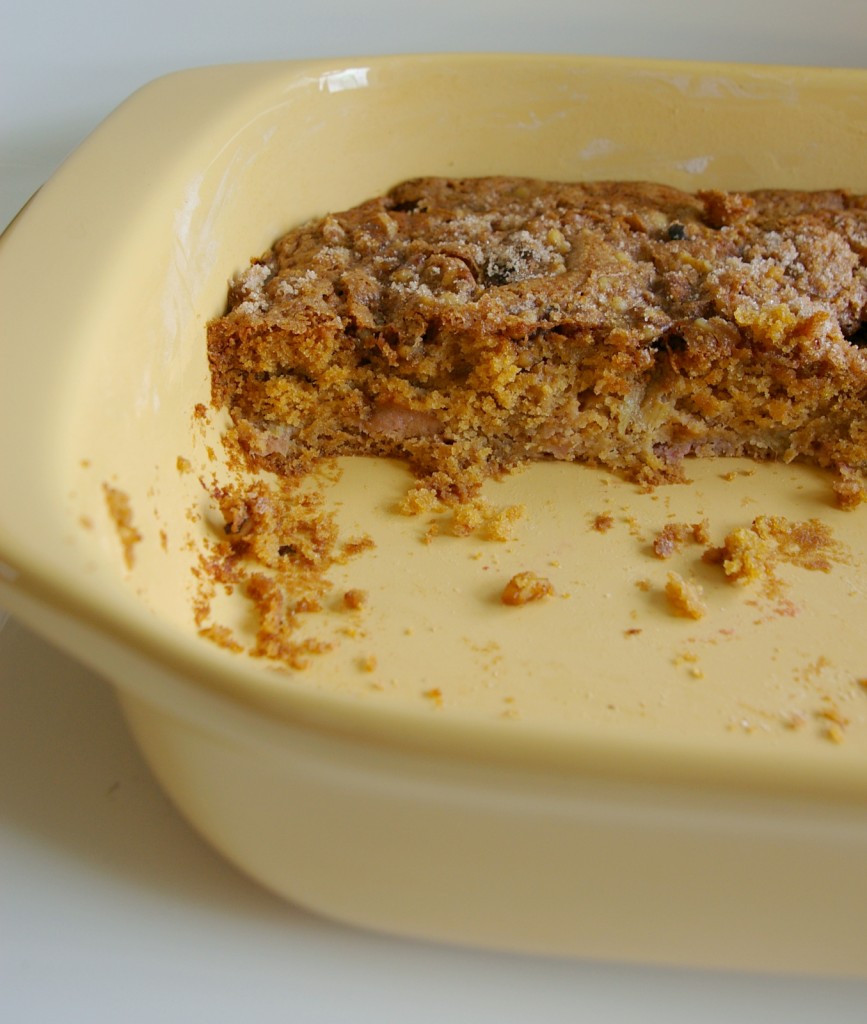
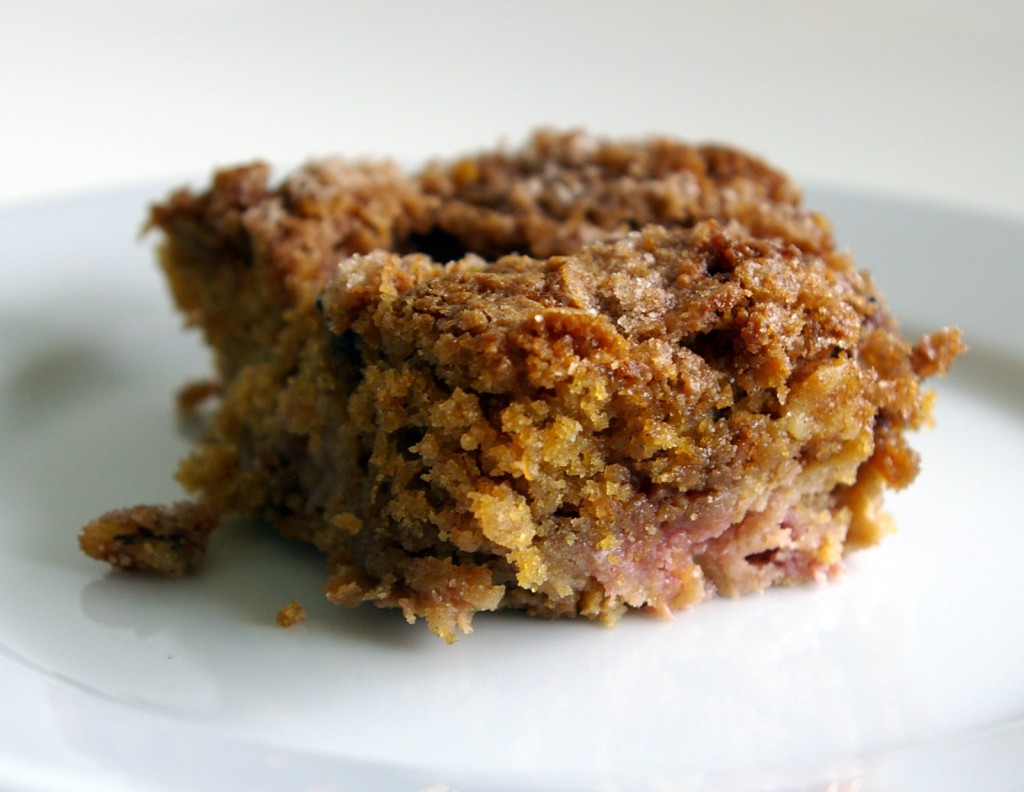
One thing that awakens me from my writing stupor is anything with rhubarb. Â I know, I know, I just posted a recipe for rhubarb-strawberry pie, but when I saw a recipe for a rhubarb cake in The California Heritage Cookbook, I knew I had to make it! Â Plus, Kevin and I visited our friends in Leavenworth, Washington, and these friends happened to have some of the most beautiful and healthy rhubarb I’ve ever laid eyes on.
So I set out to make some rhubarb coffee cake. Â Plus, there’s nothing better after a few hours of writing than walking into the kitchen and stealing a little piece, alright, a BIG piece of coffee cake studded with tart, pink rhubarb.
I followed the recipe very faithfully for this cake and I wasn’t disappointed. Â I think the cake recipe itself would be good with other fruits as well (especially something like blueberries).
What’s in a name?
We’ve been really busy at Chez Butter lately. Â I’m trying to finish my dissertation by mid-August and the sun has finally started shining in Seattle, which means that everyone heads to their local nursery to plant as many things as possible before it starts to rain again. Â In the middle of all this, I’ve been restocking the Etsy shop, so I have been lax about cooking blog-worthy dishes. Â And although I’m sure everyone is just dying to hear about the slow-cooker chicken verde that Kevin and I ate for most of last week, I think I’ll take a pass and post something a little more interesting!
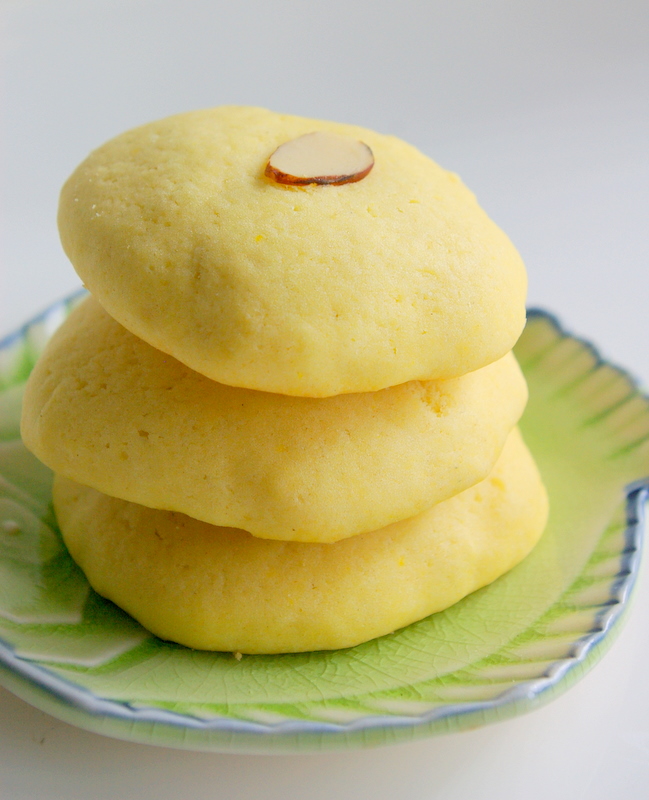
I love biscotti.  Particularly, I love Caffé Vita’s anise biscotti, so I decided I would make some something similar!  Sadly, the vintage recipe gods did not share in my passion for these little biscuits, so after scouring most of my vintage cookbooks, I found one lonely biscotti recipe from Recipes Old, New, Tried and True from the Edmonds, Washington Holy Rosary Altar Society, published in 1981.
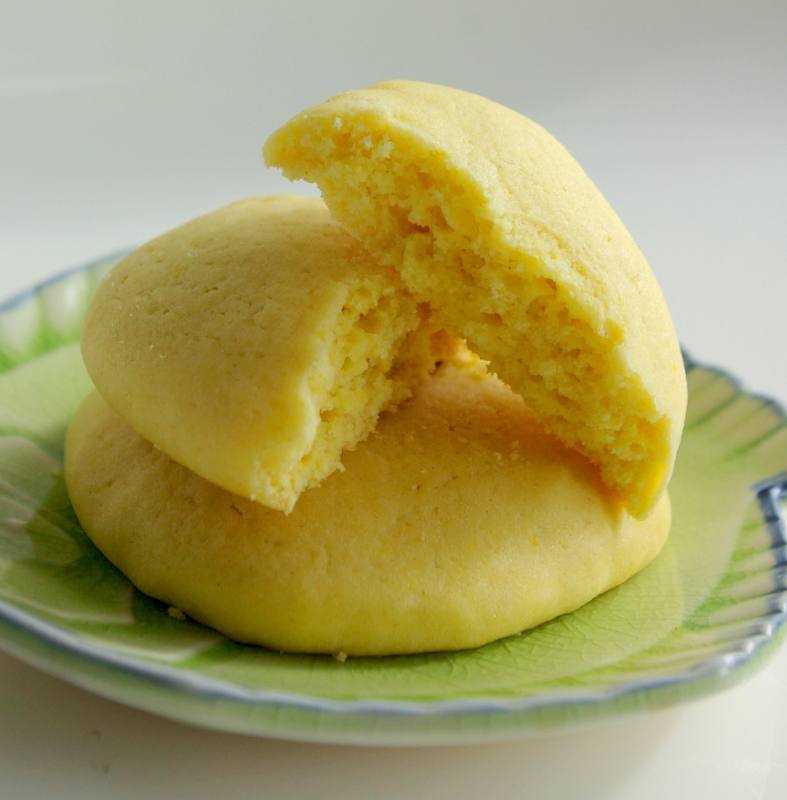
After reading through the recipe, I realized that these weren’t really biscotti at all, but a cake-like cookie to pair with coffee or tea. Â After some coaxing from Kevin, I decided I’d make the recipe anyway, with a few minor adjustments since I didn’t want to track down anise extract.
I have to say, I was rather pleased with how these cookies turned out. Â They’re definitely not biscotti, but they’re not really cookies either — tea biscuits or tea cakes would be a better name for them, I think. Â Regardless of what I called them, they were super-tasty with coffee and had a pleasant anise flavor from a few glugs of locally-made Pacifique Absinthe.
Absinthe-Laced Tea Biscuits
Makes about 2 dozen
1 cup sugar
3 eggs
1 cup and 2 tbsp. butter
3 cups flour
3 tsp. baking powder
3 tsp. vanilla
3 tsp. Absinthe
1. Â Melt butter and allow to cool. Â Meanwhile, in mixer, beat eggs and sugar until sugar is dissolved (about 5 minutes).
2. Add cooled butter, vanilla, and absinthe to the sugar mixture and mix until incorporated.
3. Mix flour and baking powder together and add to dough mixture and mix for 30 seconds.
4. (Dough will be very moist, so wet hands before touching dough.) Â Shape into 1 1/2 inch diameter balls and place on cookie sheet. Â Press down on each cookie to flatten.
5. Bake for 12-15 minutes in a 375 degree oven. Â Cookies will not brown, so watch out for over-baking.
When the Moon Hits Your Eye…
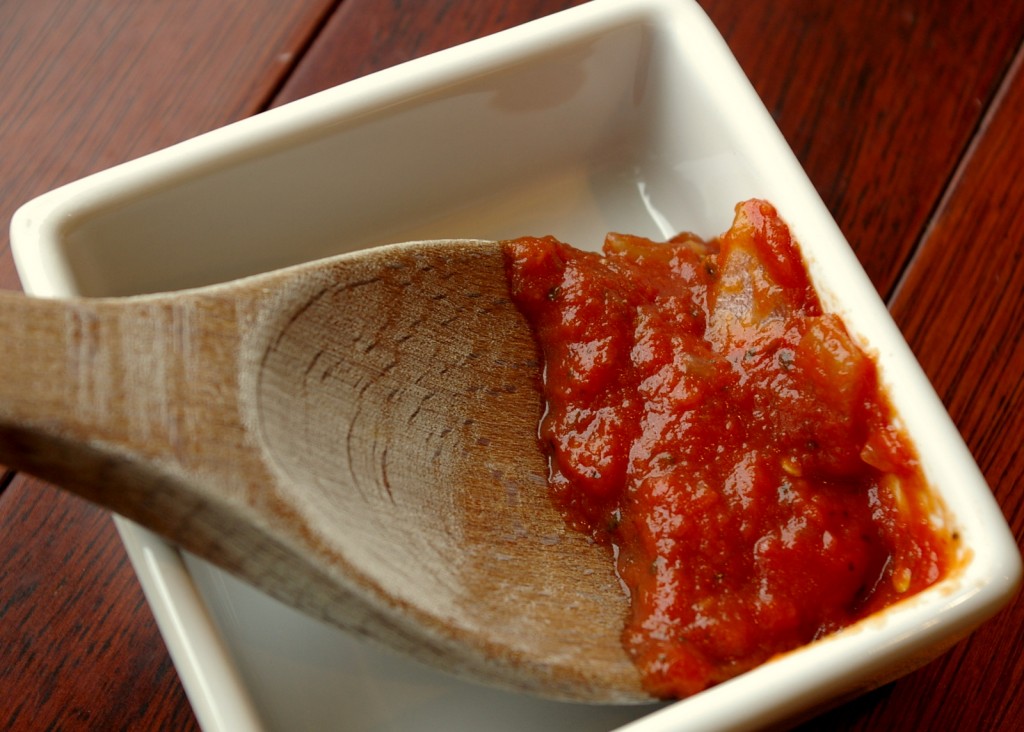
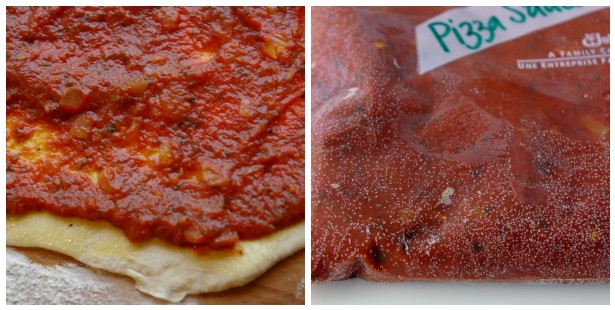
I don’t know about you, but I am always in need of quick, weekday meals. Â Since my mom gave Kevin and me a copy of Artisan Bread in Five Minutes a Day we usually have some dough chillin’ in the fridge. Â Lately, we’ve been rolling out the dough from the original recipe and making pizza crusts. Â After a quick preheat, lunch or dinner is ready in a matter of minutes! Â There’s only one problem: I’ve always been on the fence about prepared pizza sauce, and when I tried experimenting on my own, my sauces were runny or flavorless, so I always caved in to convenience and bought the over-priced pizza sauce at the store even though I knew it was something I could make on my own.
Enter the California Heritage Cookbook’s recipe for pizza sauce. Â It’s one of the few vintage cookbooks I own that has a recipe for pizza, so I decided to put it to the test. Â Well, I will never buy pizza sauce again. Â This recipe yielded a thick sauce that was both sweet and spicy. Â And, it freezes perfectly too! Â Take that, Thursday evenings.
Pizza Sauce
(adapted from The California Heritage Cookbook, c. 1976)
1 onion, finely chopped
3 cloves garlic, minced
2 tbsp. olive oil
1 28 oz. can tomato puree
1 12 oz. can tomato paste
1 tbsp. of each of the following fresh herbs, chopped: fresh oregano, basil, thyme, and parsley
1/2 tsp. dried red pepper flakes
salt and pepper
1. Sauté garlic and onion in olive oil on medium heat for 5 minutes, or until soft.
2. Add tomato puree and paste and cook over low heat for another 10 minutes.
3. Add herbs and pepper flakes and cook for an additional 5 minutes.
4. Spread on pizza dough along with your favorite toppings. Â (We had fresh mozzarella and prosciutto.)
5. Freeze any extra sauce for up to 2 months.
A Rustic Modern Meal
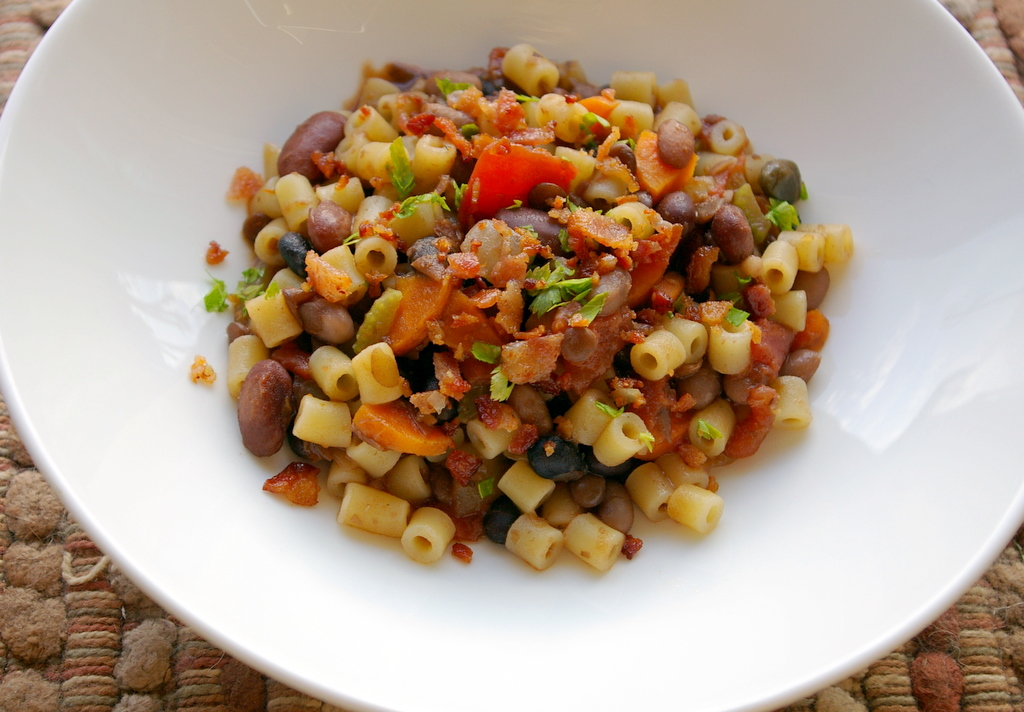
I know that the title of this post is an oxymoron, but that’s how I feel about Pasta e Fagioli. Â It’s a simple, yet hearty dish, but with a few additions, its the type of meal that looks beautiful and modern, while satisfying almost everyone around the table. Â Most of the recipes I saw in my research were for a soup, but not the one from The Vintage Epicure, which is the base recipe I used for my version. Â You’ll see that I couldn’t resist putting bacon in mine, but one could easily leave it out and use olive oil without losing much flavor.
This dish turned out to be a powerhouse. Â Not only did it feed Kevin and me for three nights, each evening the flavors became even more lovely and complex. Â We both decided that this recipe will definitely become a staple in our house.
Pasta e Fagioli
(very loosely adapted from The Vegetarian Epicure) serves 6
1.5 cups dried beans (I used a mixture of beans that included kidney, black, and navy beans as well as some lentils)
2 tbsp. olive oil
2 bay leaves
3 cloves garlic, peeled
2 large carrots, diced
2 celery stalks, diced
1 large onion, diced
4 slices bacon, drippings reserved
1 tsp. oregano and basil, chopped
1 medium can diced tomatoes
1 lb. elbow macaroni (or whatever pasta you’d like!)
2 tbsp. parsley, chopped
salt and pepper
1. Combine beans with 6 cups of water and soak overnight.
2. The next day, pour beans and liquid into a dutch oven along with 1 1/2 tsp. salt, 1/4 cup olive oil, bay leaves, and garlic cloves. Â Simmer beans until they are tender–about 2 or 3 hours. Â When the beans are tender, discard bay leaf and smash garlic cloves with a spoon until they are incorporated into the bean mixture. Â At this point, the beans should have some extra liquid–about the consistency of a hearty stew.
3. Â Cook bacon and set aside, reserving bacon drippings.
4. Dice onions, celery, and carrots and sauté in bacon drippings for 10 minutes.  Add basil and oregano and cook for an additional 5 minutes.  Add to bean mixture.  At this point, add salt and pepper to taste.
5. Cook pasta in boiling water as directed on package. Â Drain pasta and add to bean mixture.
6. Serve with grated Parmesan cheese, chopped parsley, and finely-chopped bacon.
The Crunch of Spring
I associate spring with crunchy foods: the snap of a fresh piece of celery and the crisp taste of peas. Â As I posted last week, I love strawberry and rhubarb desserts in the spring, but I also tend to favor desserts that are airy, even if they aren’t ‘light’ in the caloric sense! Â Enter the meringue–dead simple to make, light on the tongue, and with the perfect crunch.
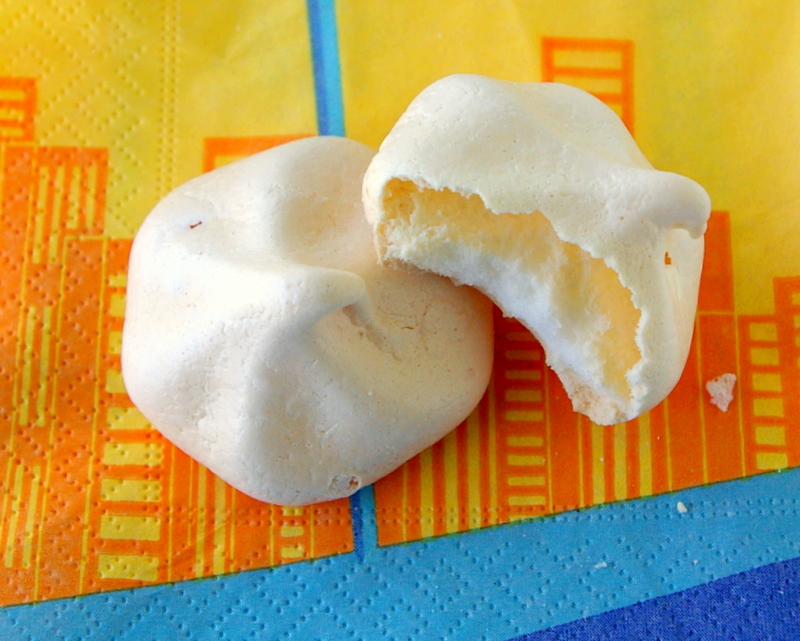
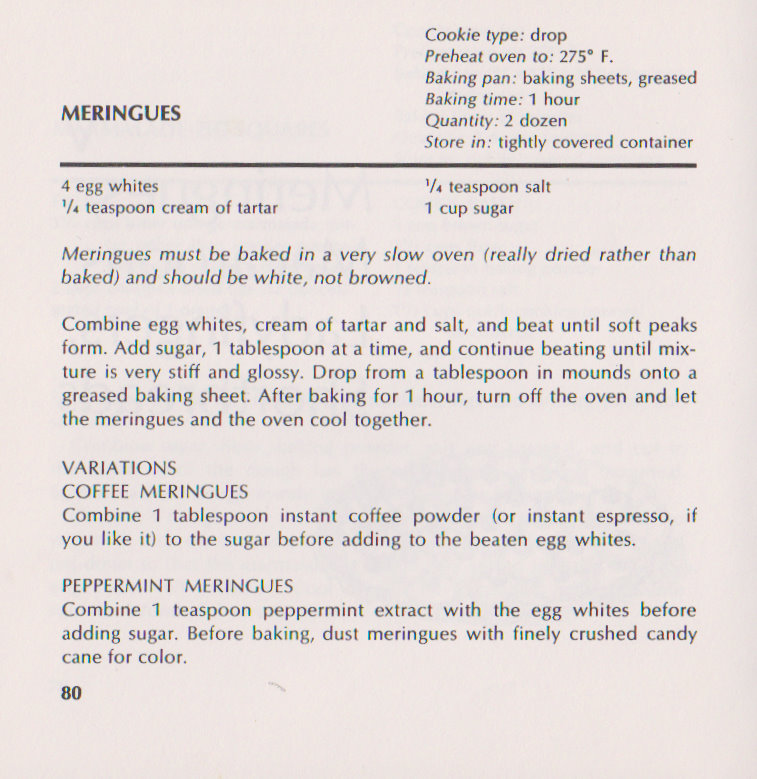
While I was leafing through the 1967 cookbook, Cookies!, by Patricia White, I stumbled on her recipe for meringues, and after looking through my cupboards, I found some lemon extract, which suited my mood perfectly. Â I think these would be lovely served with some ice cream after a barbecue!
I followed the recipe with a few, minor differences:
1. I added lemon extract instead of mint.
2. I used parchment paper instead of greasing a cookie sheet (do people grease cookie sheets anymore?)
3. I piped the meringue with the widest pastry tip I had because I liked the shape.
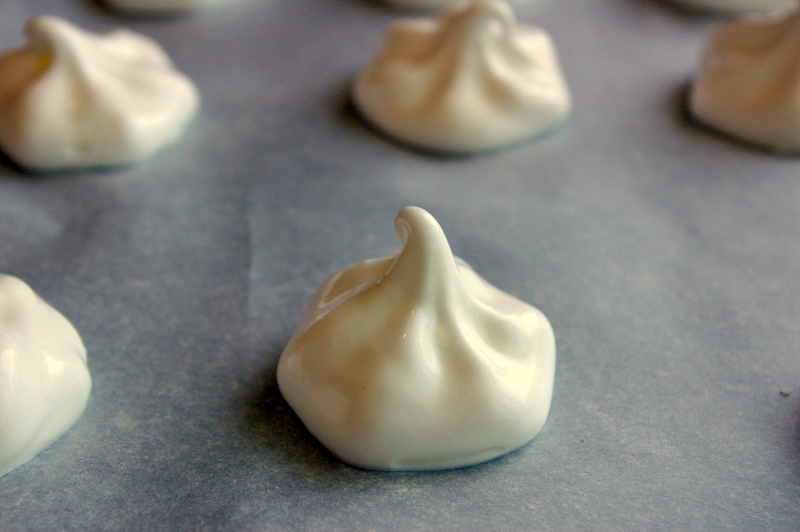
Here are the cookies before the went into the oven.
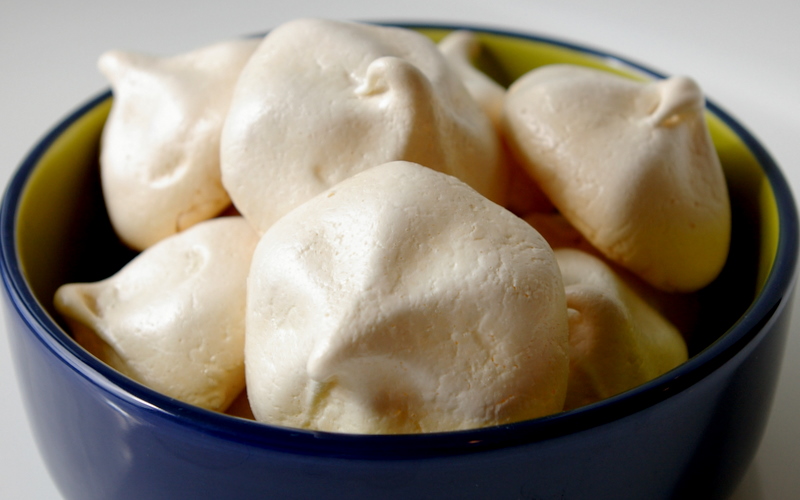
And here they are, ready to tempt the next person who walks by the kitchen!
