Posts in Category: Cookbooks
Cookbook Round Up!
My birthday was earlier this month and, as always, I received some amazing gifts from Kevin. Â Most of these were food-related, so I wanted to share!
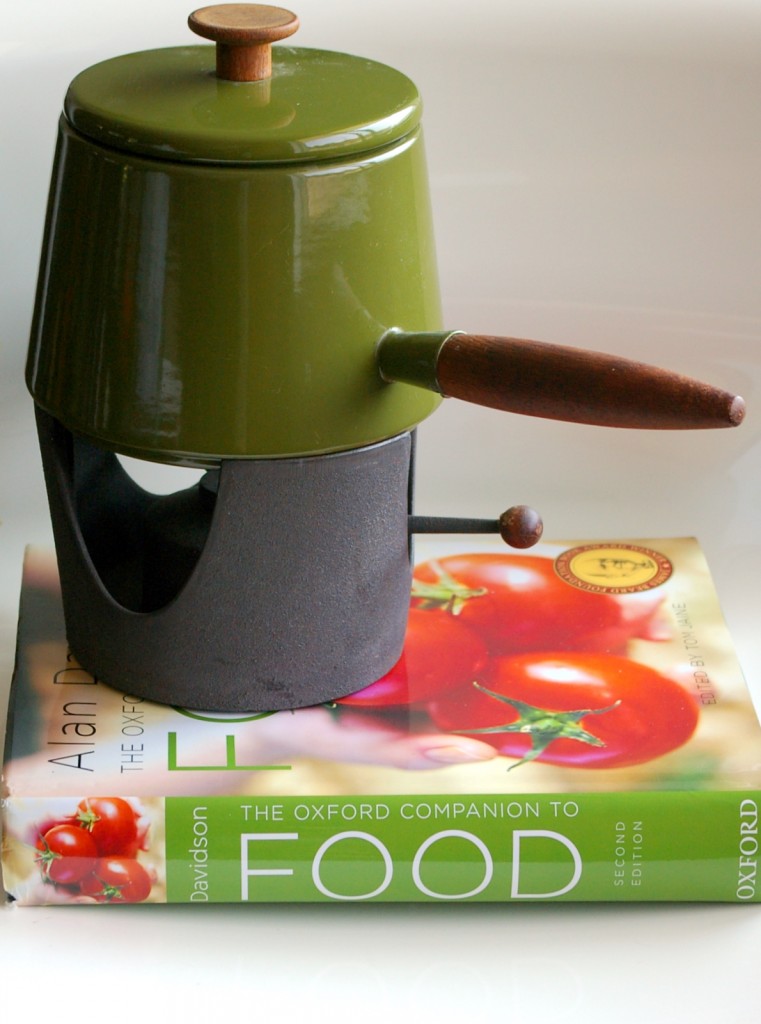
I’ve been wanting the The Oxford Companion to Food (2nd Edition) for a long while. Â It’s one of the best resources for food history and it’s helped me with many of my posts. Â On top of my new tome is my (new to me) Copco fondue pot, designed by Michael Lax. Â I cannot wait to make some fondue in my new pot!
In other (unrelated) news, I’m finishing up the introduction to my dissertation and generally wrapping things up, so posts may be a bit sporadic until I turn in my final draft. Â Thanks, dear readers, for being understanding!
Back to Basics
If vintage cookbooks and recipes are good for one thing, it’s to give today’s cooks basic recipes to revisit and revise, especially recipes like banana bread. Â I’m a finicky banana eater. Â If our bananas have any brown spots at all, I immediately give them to Kevin and turn my back on their starchy goodness. Â In fact, I like bananas that still have a hint of green on them so that they’re almost a little crunchy when I take the first bite. Â I know, I know, green bananas aren’t very banana-y yet, it’s more a texture thing than anything else.
Which is to say, as soon as our bananas show any hint of ripeness, I begin to scour our cookbooks for banana bread recipes. Â Even though everyone has the best banana recipe (seriously, ask any home cook and they will always have one that has been passed down from various aunties or family friends) I haven’t found one that I can call my own.
I should just use my grandmother’s, but hers involves a layer of cream cheese frosting, so while it’s technically a banana bread, I feel a little guilty having a thick slice in the mornings. Â Although when I was a kid, my sister and I would methodically eat our banana bread from the bottom up so that we could save the frosting-lined piece for the very end. What bliss!
But I digress. Â I looked through cookbook after cookbook and found many strange recipes for banana bread. Â A few recommended that the banana bread be served as sandwich bread and, for the life of me, I cannot imagine eating a ham sandwich on banana bread. Â *shudders* Â I also found many recipes from c. 1900 that touted the use of banana flour. Â Banana bread as we now know it came about in the 1950s, as this ad from a 1953 issue of Life magazine suggests. Â Perhaps, if I can’t get a job in academia, I can bake banana bread to make some cash!
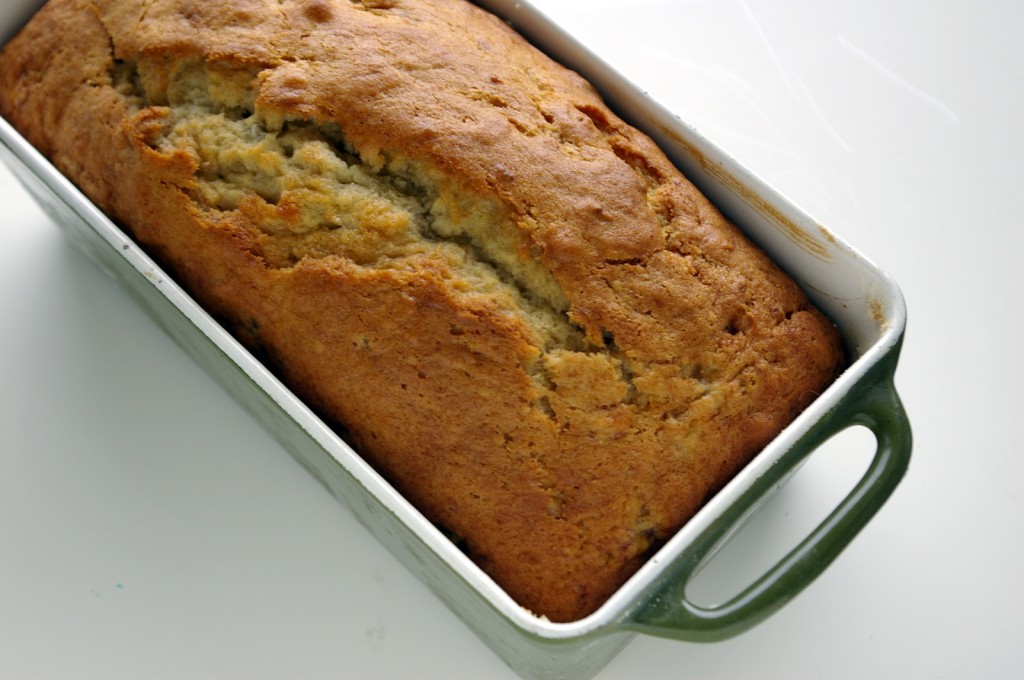
This recipe comes from the 1962 printing of The Good Housekeeping Cookbook. It’s a solid, base recipe, and I am going to start tweaking it with some whole-grain flour next. Â It was flavorful and had a very good crumb. Â I was even able to use my new (well, new to me) enameled cast iron Copco bread pan. Â I *loved* this bread pan because it made the entire bread have a great brown crust!
Banana Bread
Adapted from the 1962 Good Housekeeping Cookbook
1 3/4 cups flour
2 tsp. baking powder
1/4 tsp. baking soda
1/2 tsp. salt
1/3 cup and 1 tbsp. butter
2/3 cup sugar
2 eggs
3 mashed bananas
1/3 cup chopped walnuts
1. Heat oven to 350 degrees and grease a 9″x5″3″ loaf pan.
2. Mix together flour, baking powder, soda, and salt.
3. With electric mixer cream butter and sugar, then add eggs until mixture is fluffy and light.
4. Add flour mixture alternatively with bananas until just mixed.
5. Stir in walnuts and turn into pan.
6. Bake for 1 hour.
Harried in the Kitchen
Dear readers, I have been so busy! Â So harried, in fact, that I haven’t cracked open a vintage cookbook for a few weeks. Â My advisor has given me a deadline for my completed dissertation: August 15th. Â It’s just around the corner! Â So, needless to say, I’ve been freaking out and not cooking a lot.
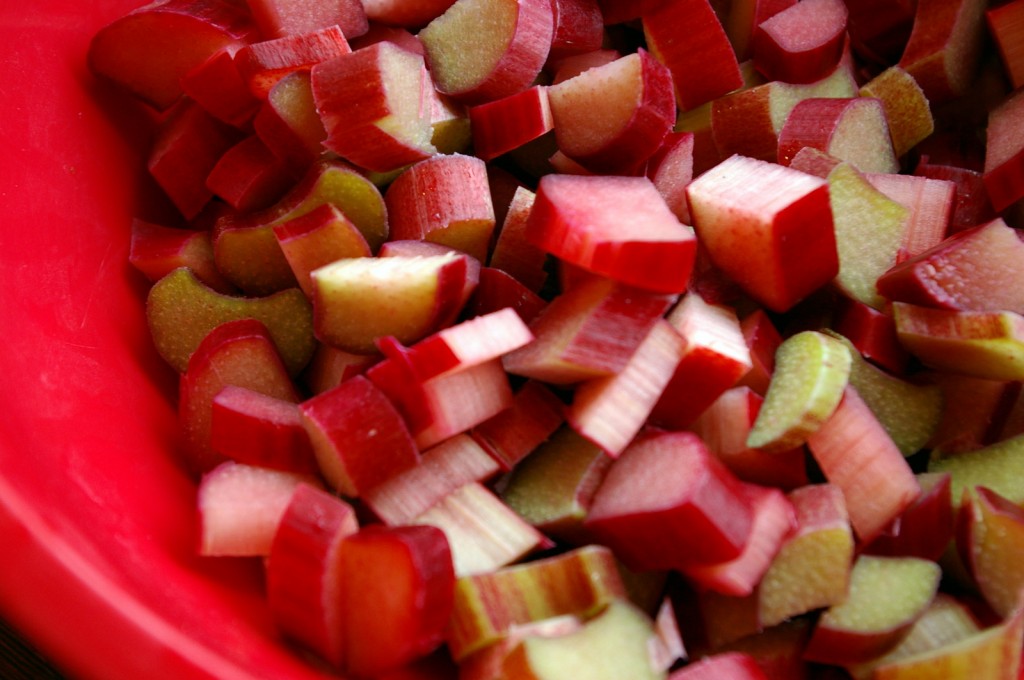
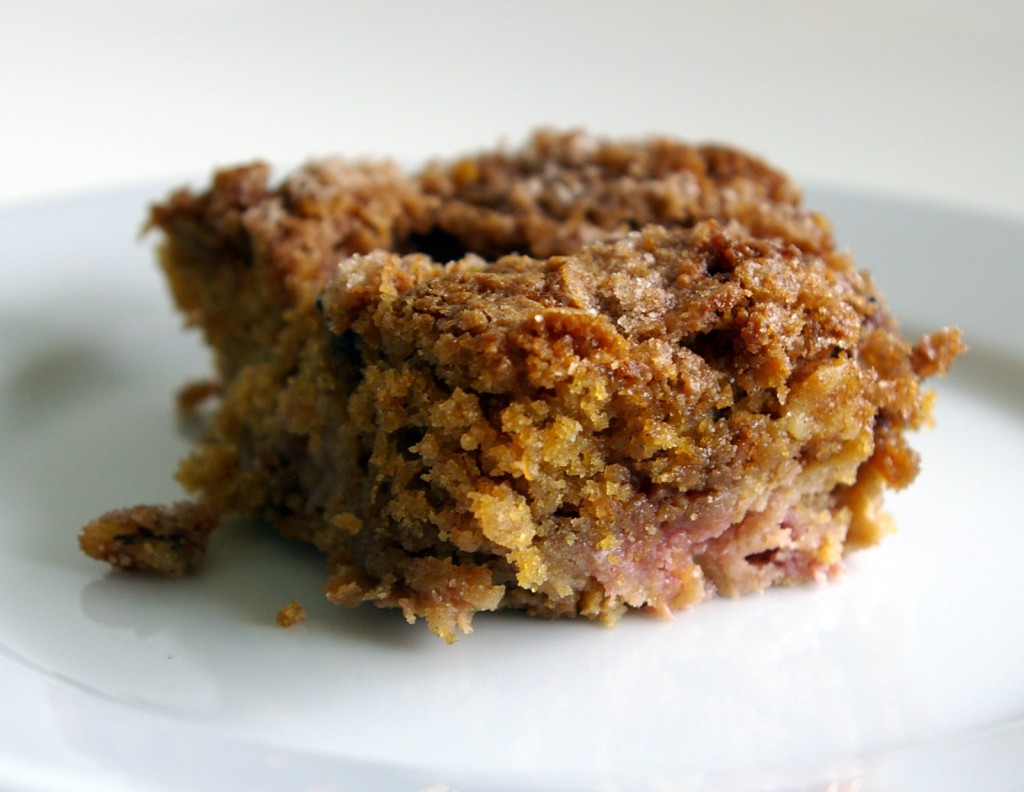
One thing that awakens me from my writing stupor is anything with rhubarb. Â I know, I know, I just posted a recipe for rhubarb-strawberry pie, but when I saw a recipe for a rhubarb cake in The California Heritage Cookbook, I knew I had to make it! Â Plus, Kevin and I visited our friends in Leavenworth, Washington, and these friends happened to have some of the most beautiful and healthy rhubarb I’ve ever laid eyes on.
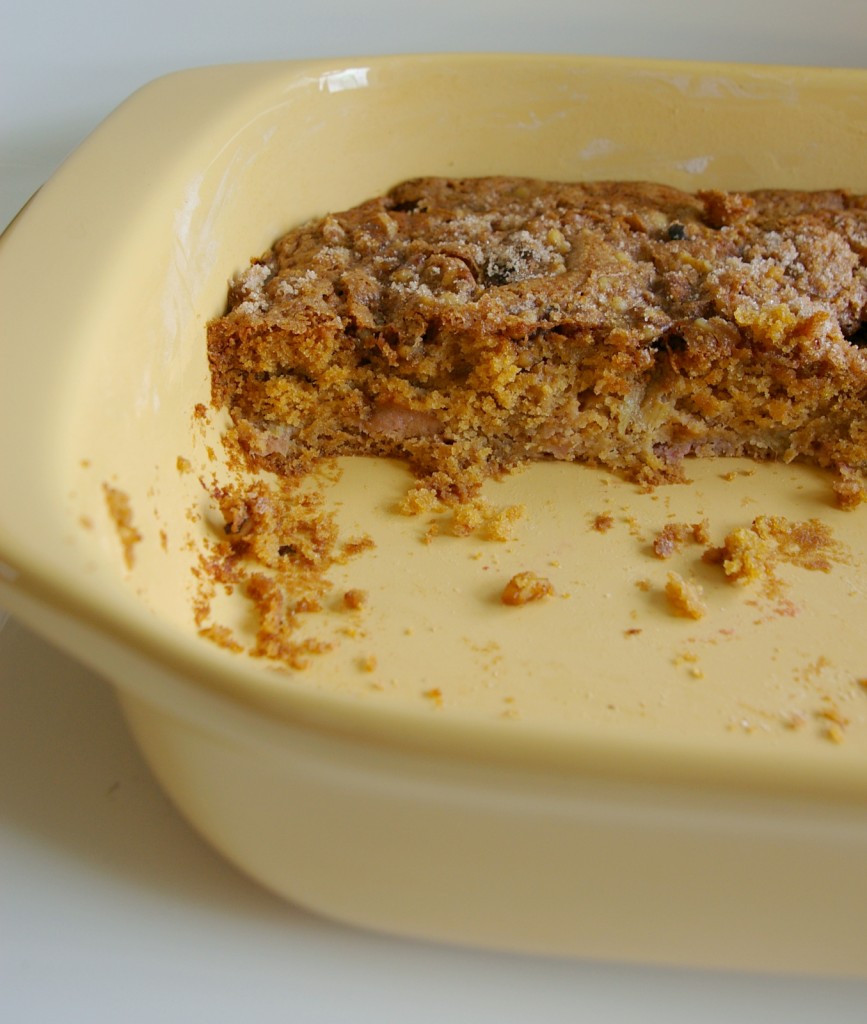
So I set out to make some rhubarb coffee cake. Â Plus, there’s nothing better after a few hours of writing than walking into the kitchen and stealing a little piece, alright, a BIG piece of coffee cake studded with tart, pink rhubarb.
I followed the recipe very faithfully for this cake and I wasn’t disappointed. Â I think the cake recipe itself would be good with other fruits as well (especially something like blueberries).
What’s in a name?
We’ve been really busy at Chez Butter lately. Â I’m trying to finish my dissertation by mid-August and the sun has finally started shining in Seattle, which means that everyone heads to their local nursery to plant as many things as possible before it starts to rain again. Â In the middle of all this, I’ve been restocking the Etsy shop, so I have been lax about cooking blog-worthy dishes. Â And although I’m sure everyone is just dying to hear about the slow-cooker chicken verde that Kevin and I ate for most of last week, I think I’ll take a pass and post something a little more interesting!
I love biscotti.  Particularly, I love Caffé Vita’s anise biscotti, so I decided I would make some something similar!  Sadly, the vintage recipe gods did not share in my passion for these little biscuits, so after scouring most of my vintage cookbooks, I found one lonely biscotti recipe from Recipes Old, New, Tried and True from the Edmonds, Washington Holy Rosary Altar Society, published in 1981.
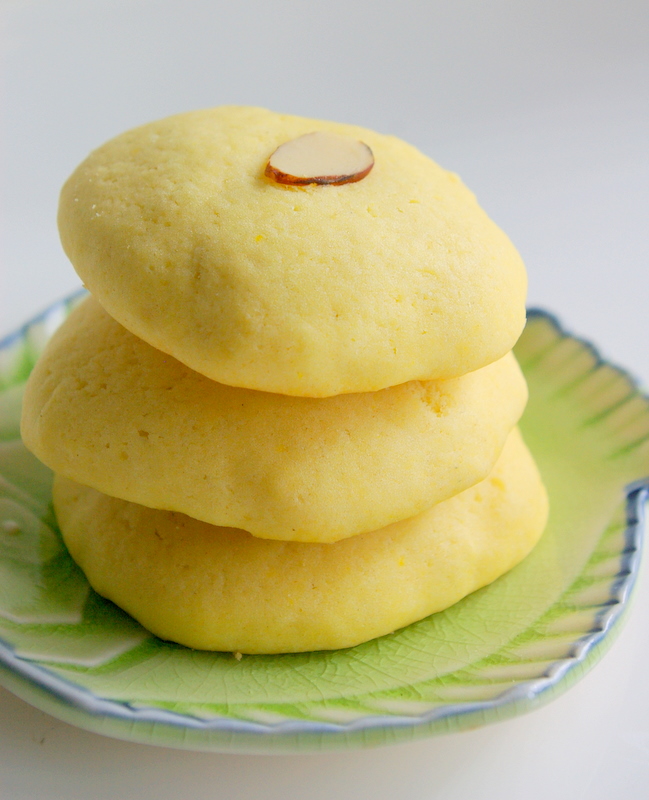
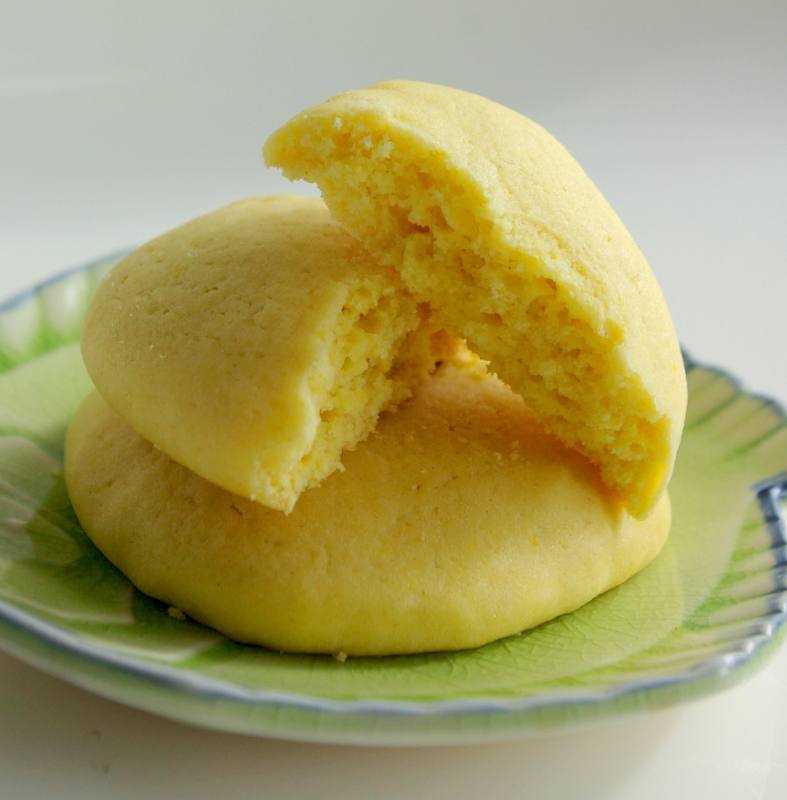
After reading through the recipe, I realized that these weren’t really biscotti at all, but a cake-like cookie to pair with coffee or tea. Â After some coaxing from Kevin, I decided I’d make the recipe anyway, with a few minor adjustments since I didn’t want to track down anise extract.
I have to say, I was rather pleased with how these cookies turned out. Â They’re definitely not biscotti, but they’re not really cookies either — tea biscuits or tea cakes would be a better name for them, I think. Â Regardless of what I called them, they were super-tasty with coffee and had a pleasant anise flavor from a few glugs of locally-made Pacifique Absinthe.
Absinthe-Laced Tea Biscuits
Makes about 2 dozen
1 cup sugar
3 eggs
1 cup and 2 tbsp. butter
3 cups flour
3 tsp. baking powder
3 tsp. vanilla
3 tsp. Absinthe
1. Â Melt butter and allow to cool. Â Meanwhile, in mixer, beat eggs and sugar until sugar is dissolved (about 5 minutes).
2. Add cooled butter, vanilla, and absinthe to the sugar mixture and mix until incorporated.
3. Mix flour and baking powder together and add to dough mixture and mix for 30 seconds.
4. (Dough will be very moist, so wet hands before touching dough.) Â Shape into 1 1/2 inch diameter balls and place on cookie sheet. Â Press down on each cookie to flatten.
5. Bake for 12-15 minutes in a 375 degree oven. Â Cookies will not brown, so watch out for over-baking.
The Crunch of Spring
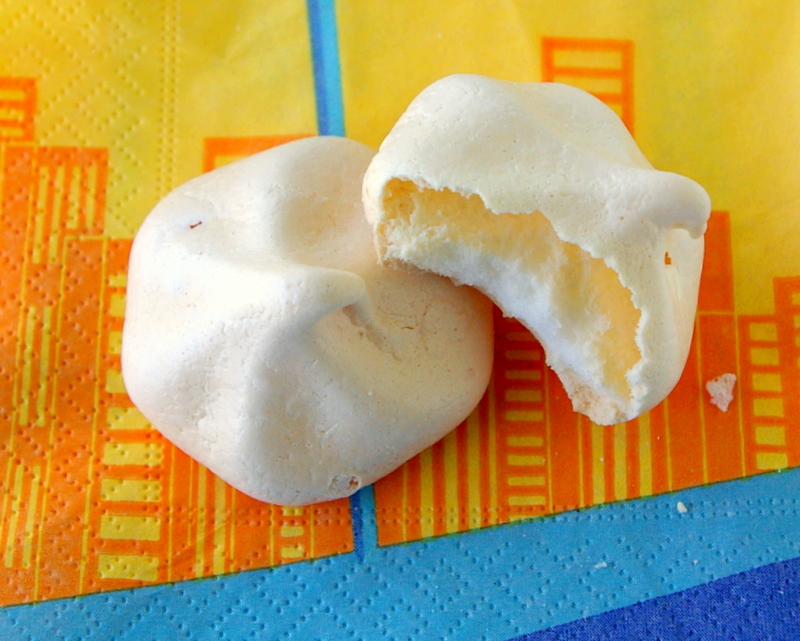
I associate spring with crunchy foods: the snap of a fresh piece of celery and the crisp taste of peas. Â As I posted last week, I love strawberry and rhubarb desserts in the spring, but I also tend to favor desserts that are airy, even if they aren’t ‘light’ in the caloric sense! Â Enter the meringue–dead simple to make, light on the tongue, and with the perfect crunch.
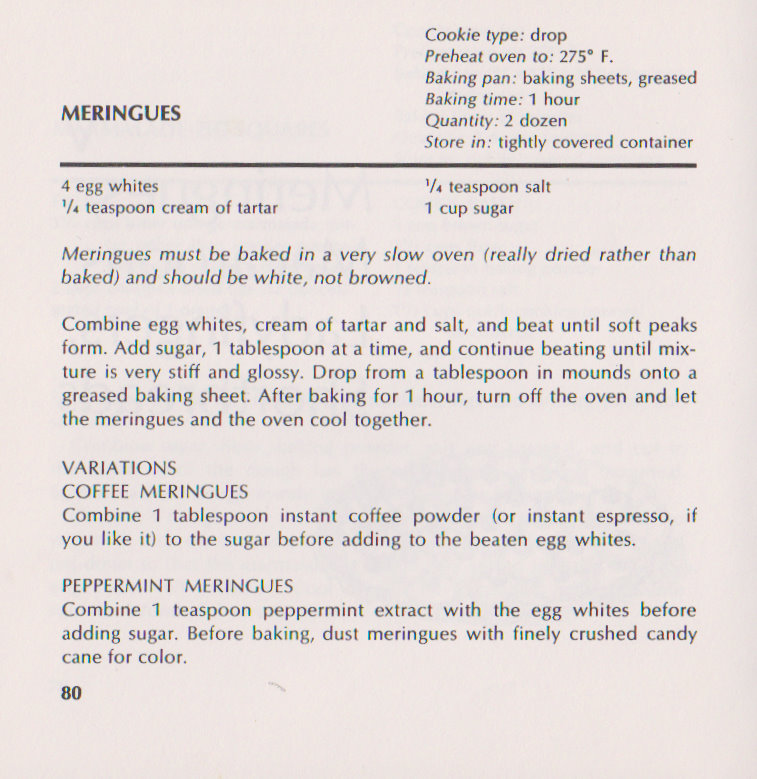
While I was leafing through the 1967 cookbook, Cookies!, by Patricia White, I stumbled on her recipe for meringues, and after looking through my cupboards, I found some lemon extract, which suited my mood perfectly. Â I think these would be lovely served with some ice cream after a barbecue!
I followed the recipe with a few, minor differences:
1. I added lemon extract instead of mint.
2. I used parchment paper instead of greasing a cookie sheet (do people grease cookie sheets anymore?)
3. I piped the meringue with the widest pastry tip I had because I liked the shape.
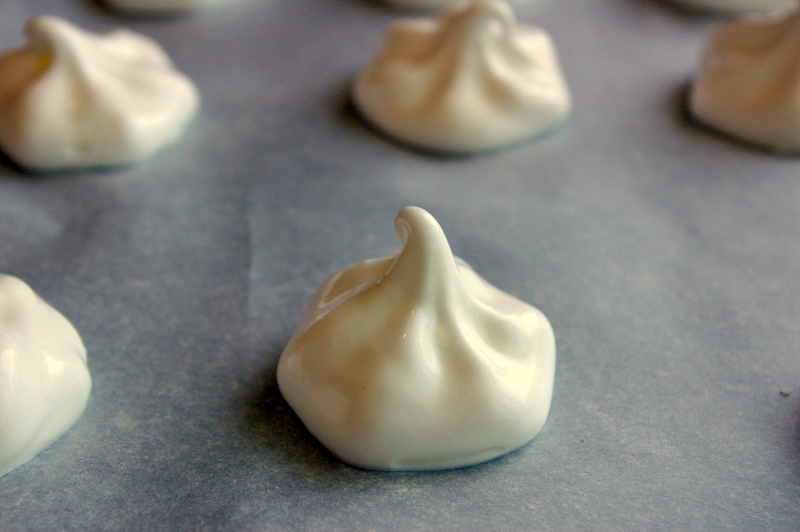
Here are the cookies before the went into the oven.
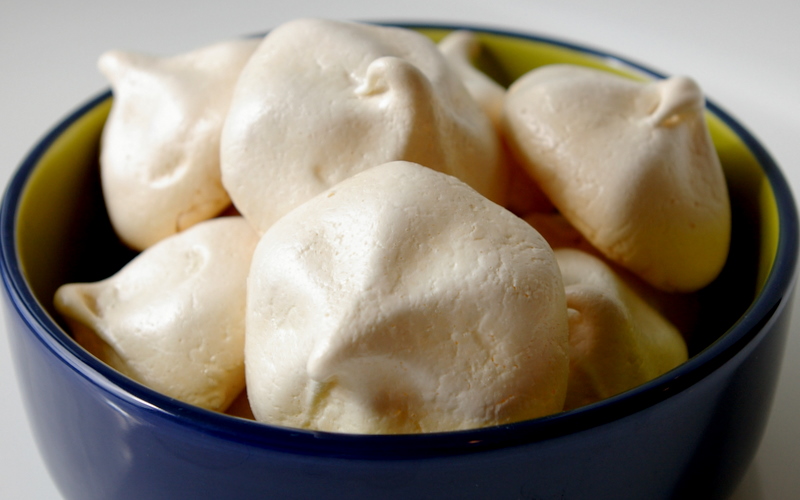
And here they are, ready to tempt the next person who walks by the kitchen!
Sweets for Spring
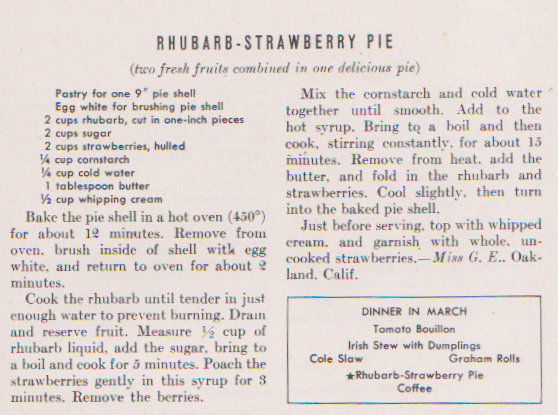
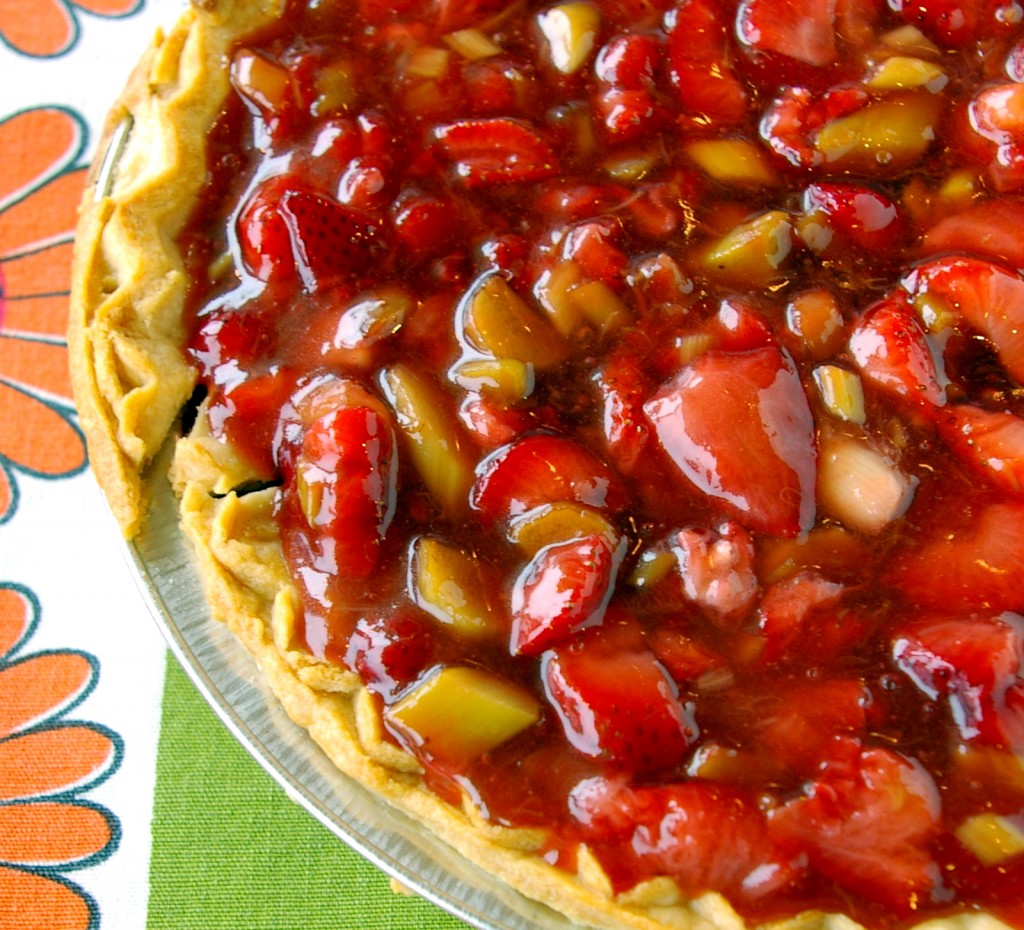
The previous owners of our house lived in it for over 40 years.  In that time, they did no landscaping except for a random clump of rhubarb we found in the back yard.  I was sad that we didn’t have any fruit trees or flowers, but I was more than happy with the rhubarb!  For the last two springs we’ve enjoyed harvesting our rhubarb and turning it into the sweetest of spring-time desserts.  This recipe is from Sunset’s Kitchen Cabinet Recipes, vol. 3, published in 1944.
When Kevin saw me chopping the rhubarb and strawberries, he immediately offered to make the dessert. Â I think he knew it would turn out perfectly and wanted all the credit! Â And, thanks to the awesome recipe and Kevin’s culinary skills, this was one of the best strawberry-rhubarb pies I’ve had. Â Kevin and I agree that we would add less sugar than the recipe called for, as it was a little too sweet. Â Just in case you needed a cute little comic to inspire you to make this yummy pie, here you go!
Did I mention that the colors of this pie were fantastic? Â Thank you, Kevin for making such an awesome dessert!
A Mycological Adventure
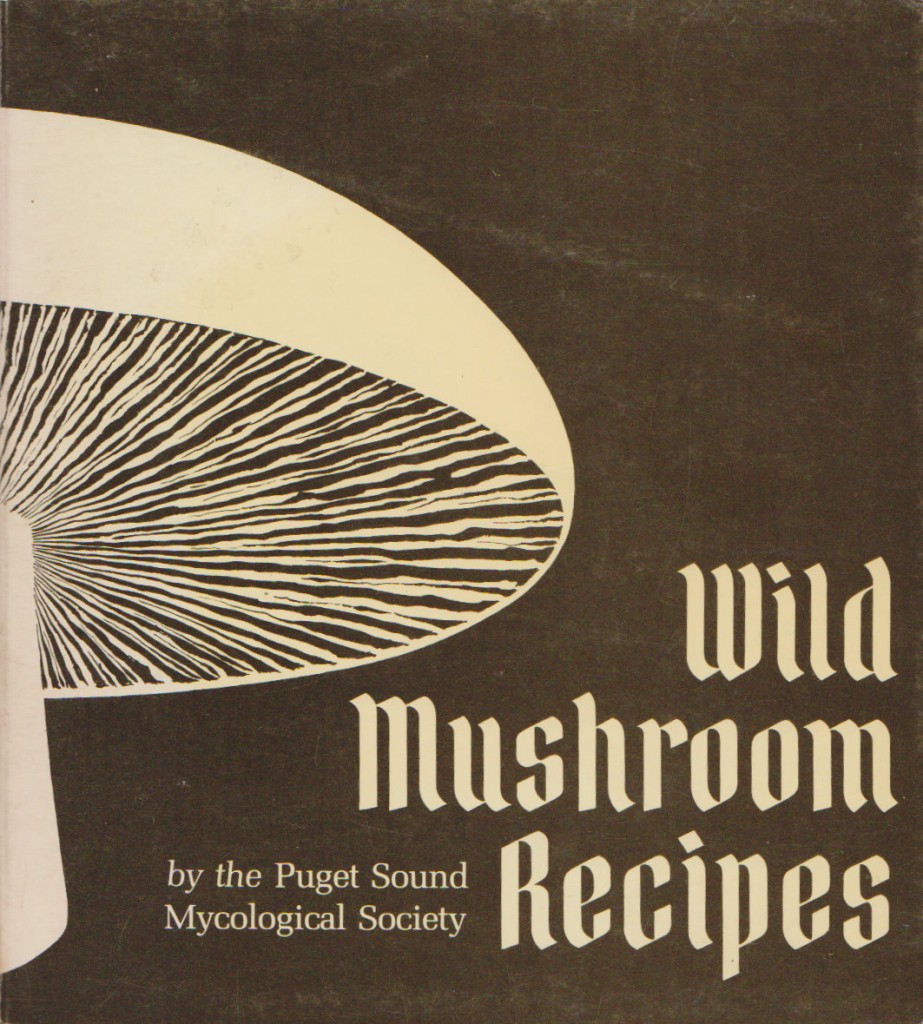
I promised to make an entrée for my choir’s annual charity auction and dinner, but I really wasn’t sure what to make.  It needed to be a recipe that I could easily scale to feed a large crowd and one that didn’t need to be served hot.  What’s a girl to do?  Serve quiche!  Thankfully, one of my vintage cookbooks, Wild Mushroom Recipes, published by the Puget Sound Mycological Society in 1978, had a lovely-looking recipe for a mushroom quiche that I had been eying.
The original recipe called for Sparassis mushrooms, and since I did not have time to learn how to forage for mushrooms, I substituted more readily available mushrooms for the less mycologically inclined cook.
Mushroom and Bacon Quiche
Adapted from Wild Mushroom Recipes
1 frozen pie crust
4 slices of bacon, fried crisp and crumbled
1 cup grated Swiss cheese
1 cup sautéed mushrooms (I used a mix of cremini, shitake, and oyster)
4 eggs
1 3/4 cup cream
1/8 tsp. nutmeg
1/4 tsp. salt
1/4 tsp. ground pepper
1. Sauté bacon until crisp and remove from pan.  Crumble bacon into small pieces.
2. Chop mushrooms and sauté in bacon grease for 5-7 minutes on medium-high.
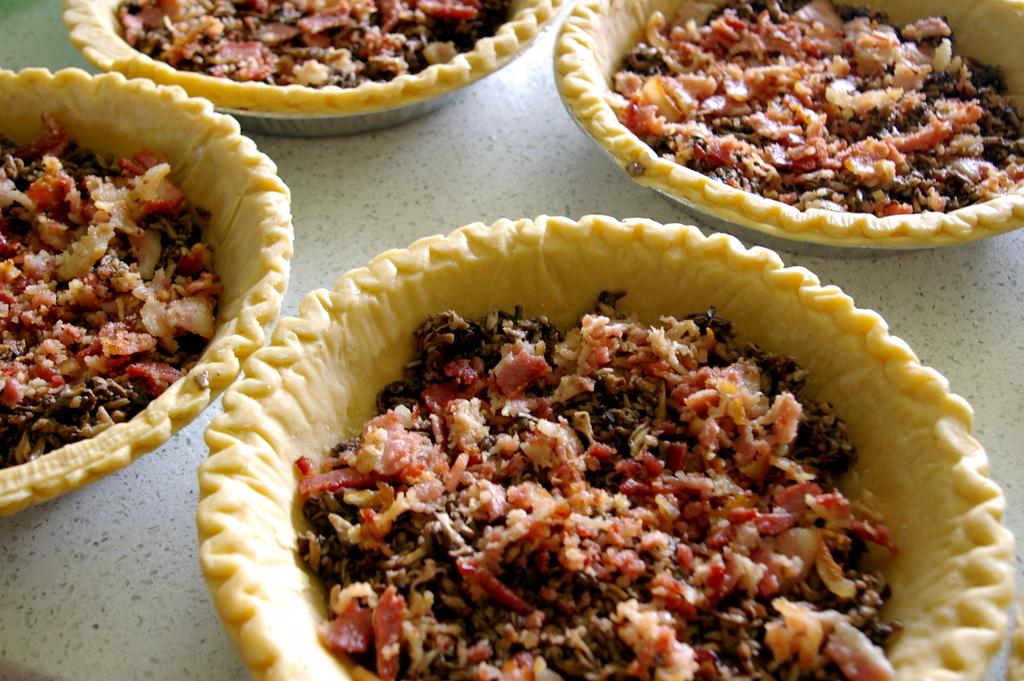
3. Sprinkle bacon, mushrooms, and grated Swiss cheese into the pie shell.
4. Beat together eggs, cream, and spices and pour over bacon and mushroom mixture. Â Don’t over fill!
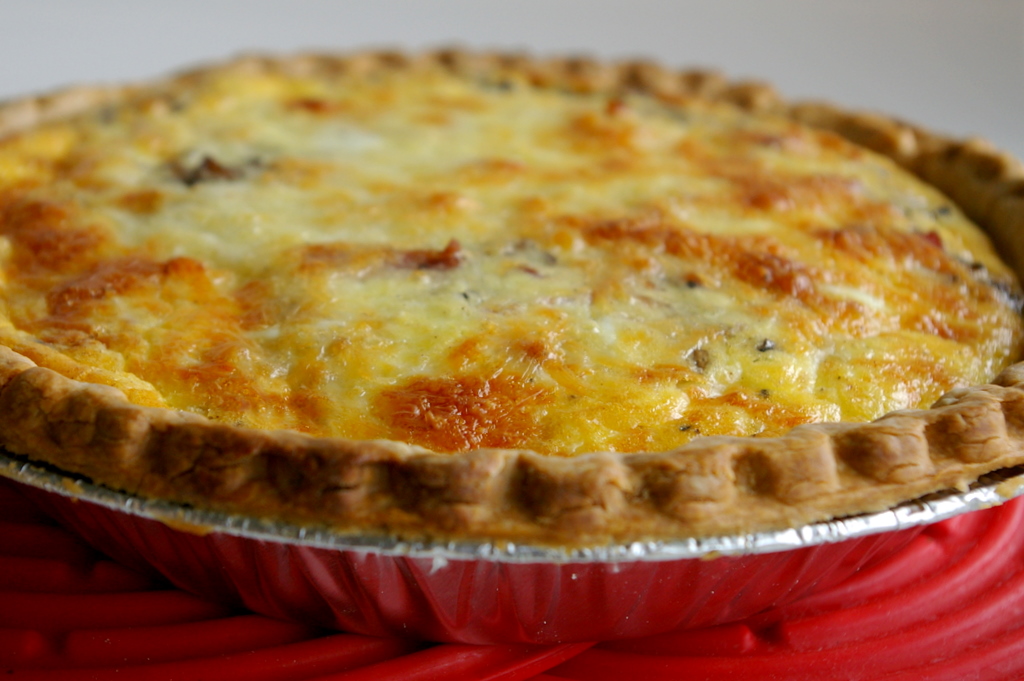
5. Bake for 35-45 min. at 375 until eggs are set and the top has browned. Â Serve either hot or cold!
I scaled this recipe and made 6 quiches, baking two at a time. Â I’m happy to report it was the first item at the auction dinner to be eaten up! Â I call it a resounding success!
Smiling in the Morning
I am a BIG fan of maple syrup.  Frankly, given the right mood, I could probably be convinced to sip some out of a coffee mug.  Dishes involving maple syrup are some of my favorites, which is probably why I’ve always loved brunch.  So when I ended up with some leftover bread from the Essential Baking Company last weekend, I knew just what to make!  It was just starting to get stale, so I left it out overnight, with dreams of maple syrup and buttery French toast dancing in my head.
I woke up before Kevin and began to search for a French toast recipe that sounded tasty.  Most of the ones I found in my various vintage cookbooks were all very basic, and while I like plain ol’ French toast, I really wanted something with some spices to wake up my taste-buds.
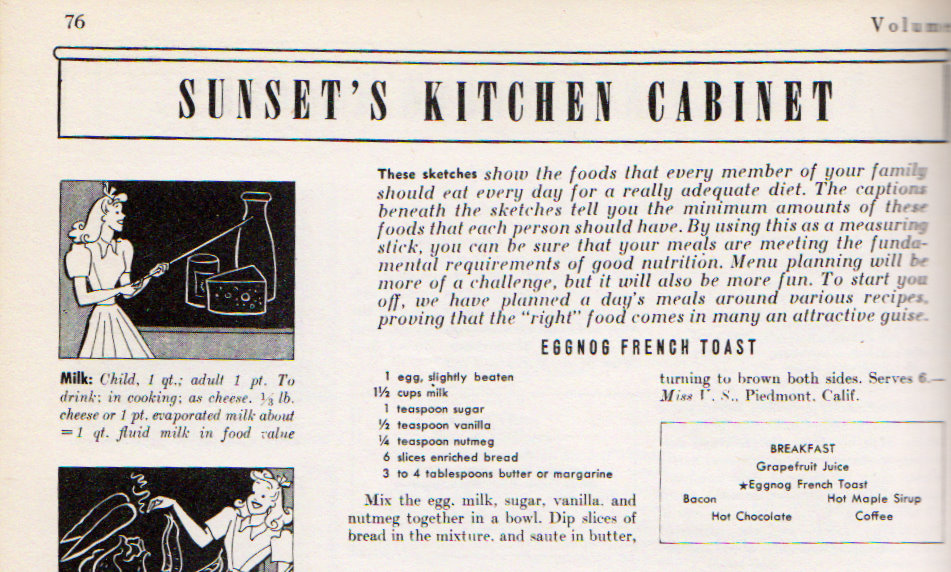
I was lucky enough to find a recipe for Eggnog French Toast from the third volume of the Sunset Kitchen Cabinet Recipes published in 1944.
I’m not sure why French toast is included in a section on meeting daily food requirements, but if maple syrups is ‘required’ eating, then I am definitely on board! Â I couldn’t wait for Kevin to wake up to start the French toast, so I ate mine with a cup of coffee, contemplating the sunny Seattle morning. Â It was some of the tastiest French toast I’ve tasted. Â The nutmeg and vanilla gave the dish the complexity I had hoped for and the maple syrup put a smile on my face for the entire day!
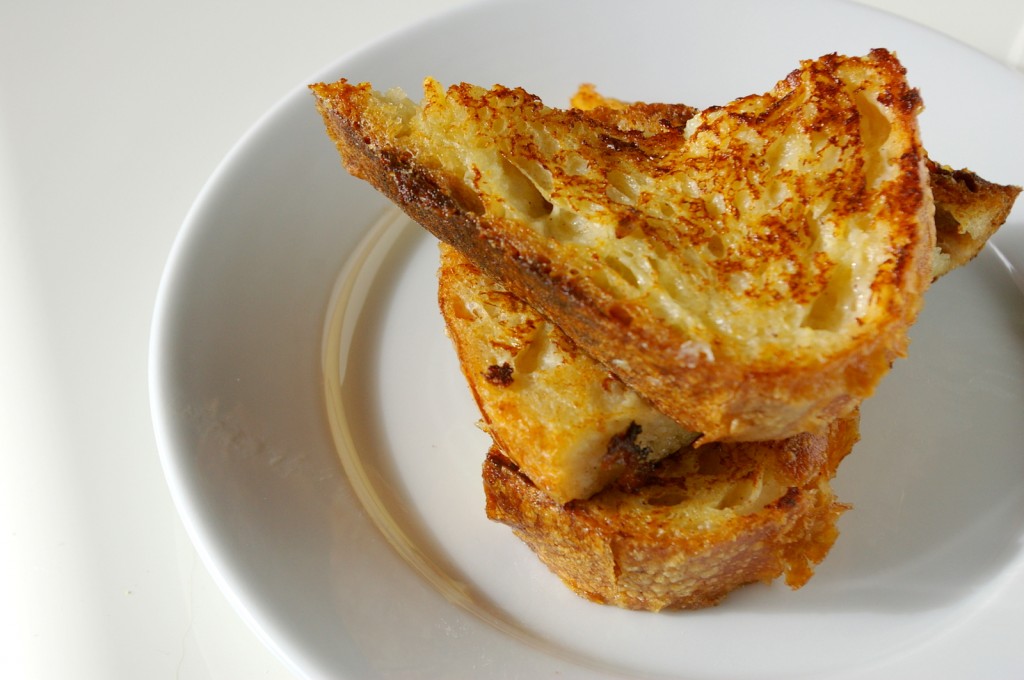
Before syrup:
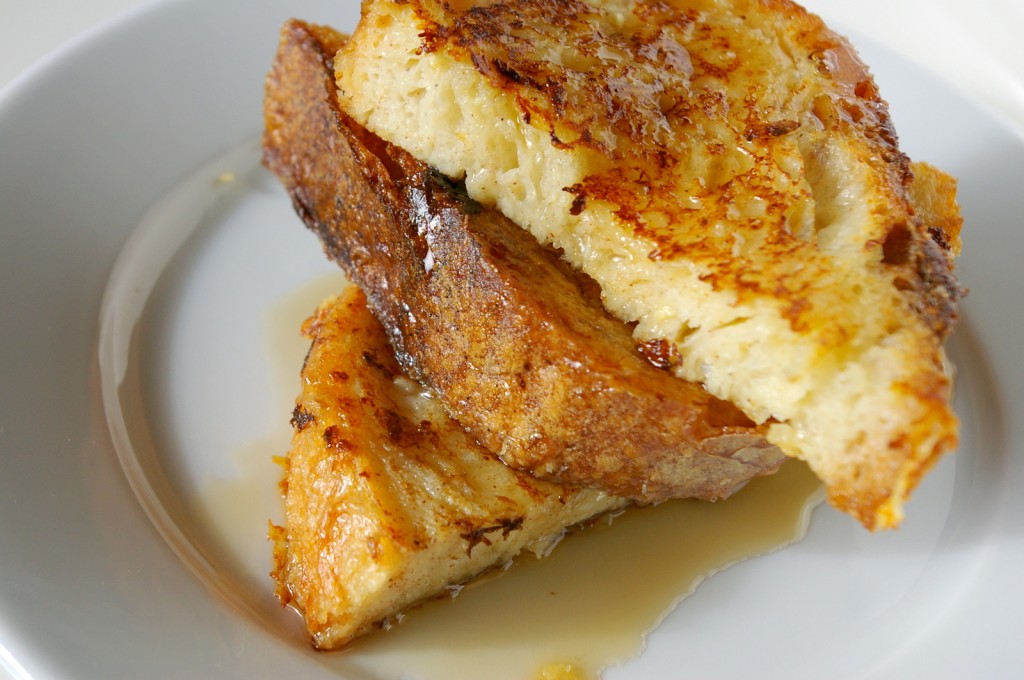
After syrup!
Date Night!
We have a tradition at Chez Butter that we’ve kept up for a while now. Â We both love to cook, but given our work schedules, we don’t often get a chance to cook together. Â So every now-and-then we’ll have a ‘date night’ in which we both cook something fun, go for a walk, and watch a movie.
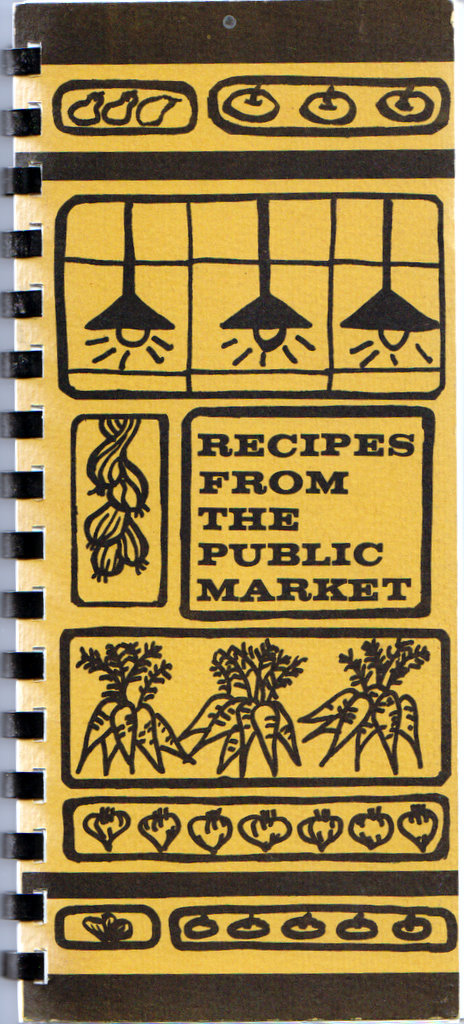
At a local estate sale we picked up a cookbook created by the Friends of Pike Place Market in 1965.  It’s a tall and skinny cookbook, filled with recipes from the market’s vendors and devotees as well as local restaurateurs.
Two recipes in particular caught our eye, both by Peter Canlis, the founder of Canlis, one of Seattle’s most decorated (and arguably most picturesque) restaurants. Â We decided to try both recipes for our date night.
Vintage Vegetarian
When I started this blog, I was a little worried: “I don’t eat cans of cream of mushroom soup every day, how am I going to make this work?” Â Like most people, my perception of old recipes are those infamous concoctions like Tuna Casserole and Tamale Pie, not the ones that are passed down and reused silently from generation to generation. Â Looking back to my post from last week, I think Russian Tea Cakes are one of those silent recipes that has been brought to Christmas cookie exchanges and potlucks for years.
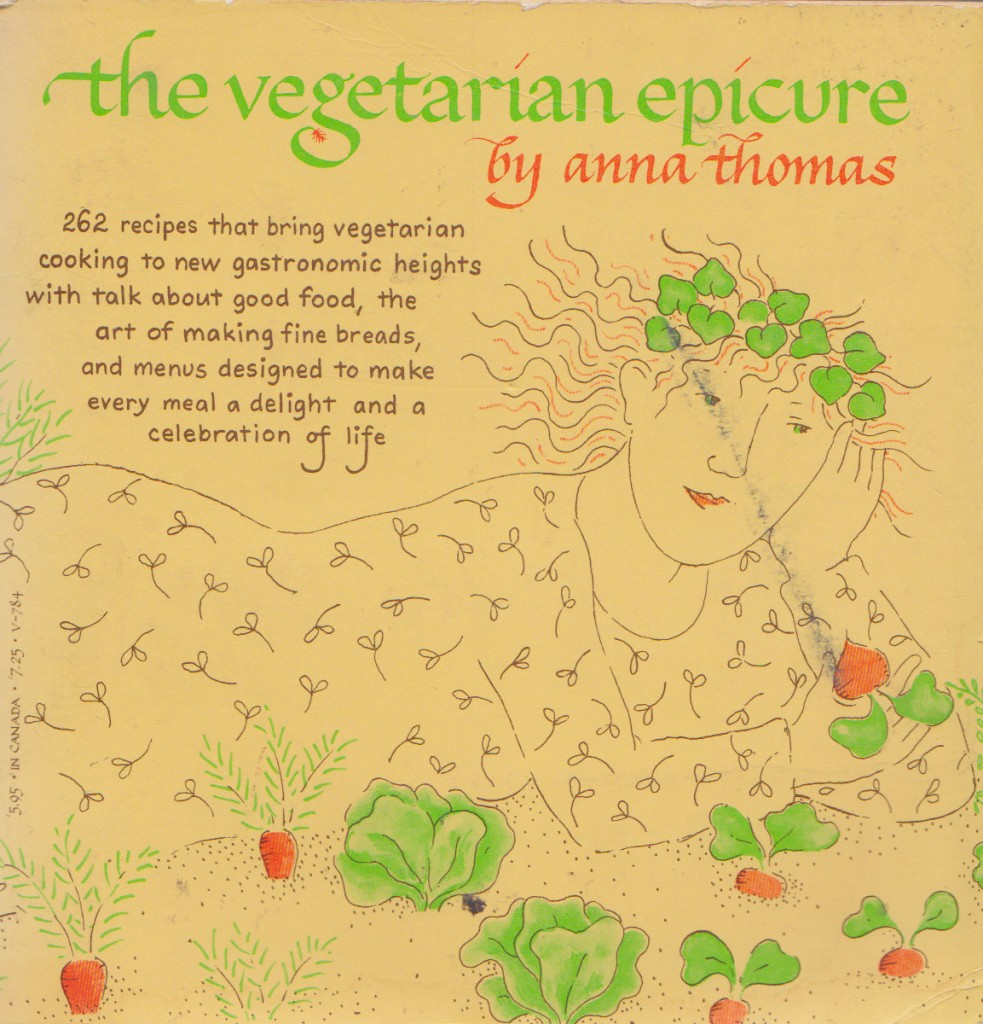
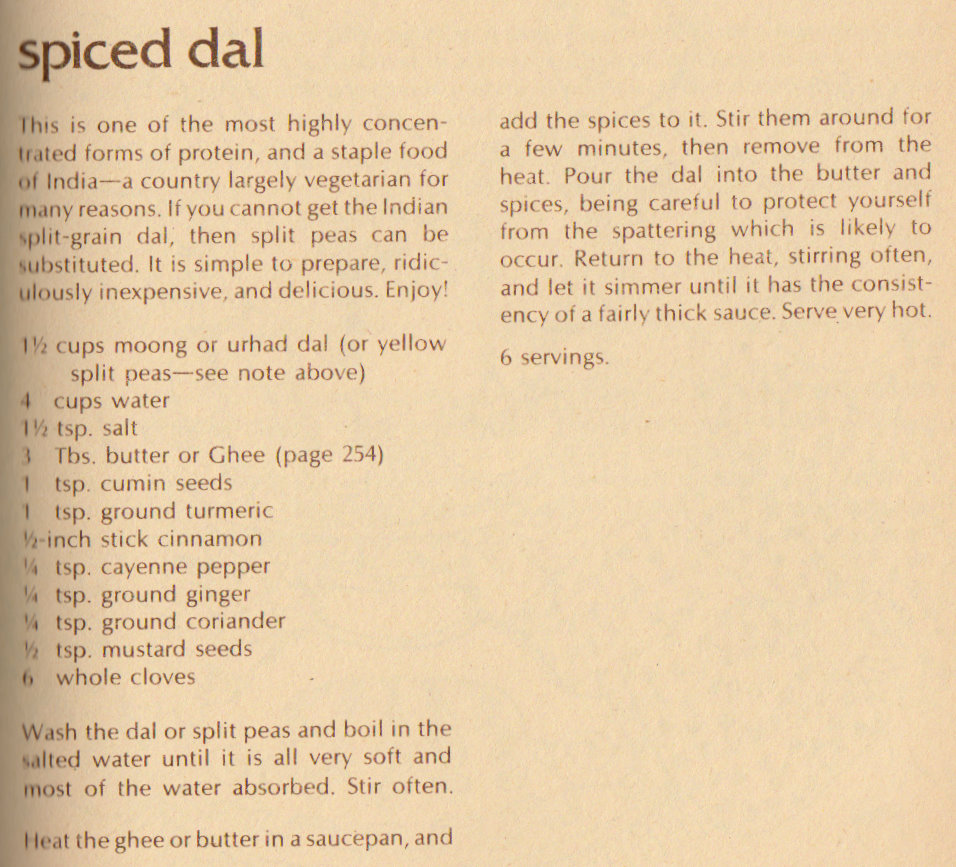
Kevin and I tend to eat a lot a lot of local produce, whole grains, and not much meat, which runs counter to our perception of ‘vintage’ food, I think. Â Enter The Vegetarian Epicure, published in 1972. Â I almost jumped for joy when I saw this book at a local thrift shop. Â Indeed, as I flip through its pages, I find that most of the dishes have a very contemporary ring to them. Â So in honor of breaking our preconceptions about vintage recipes, I bring to thee, Spiced Dal, a healthful, vegetarian, vintage recipe!
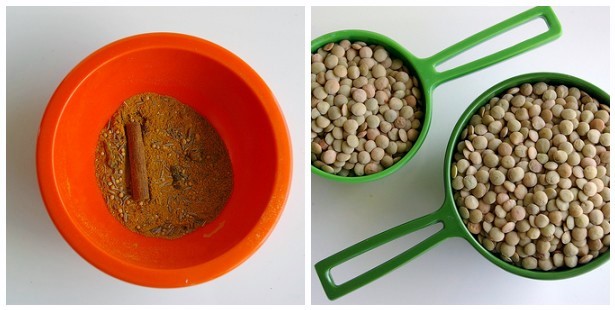
I followed the recipe quite closely although, I have to admit, I used generic lentils because I had them on hand.
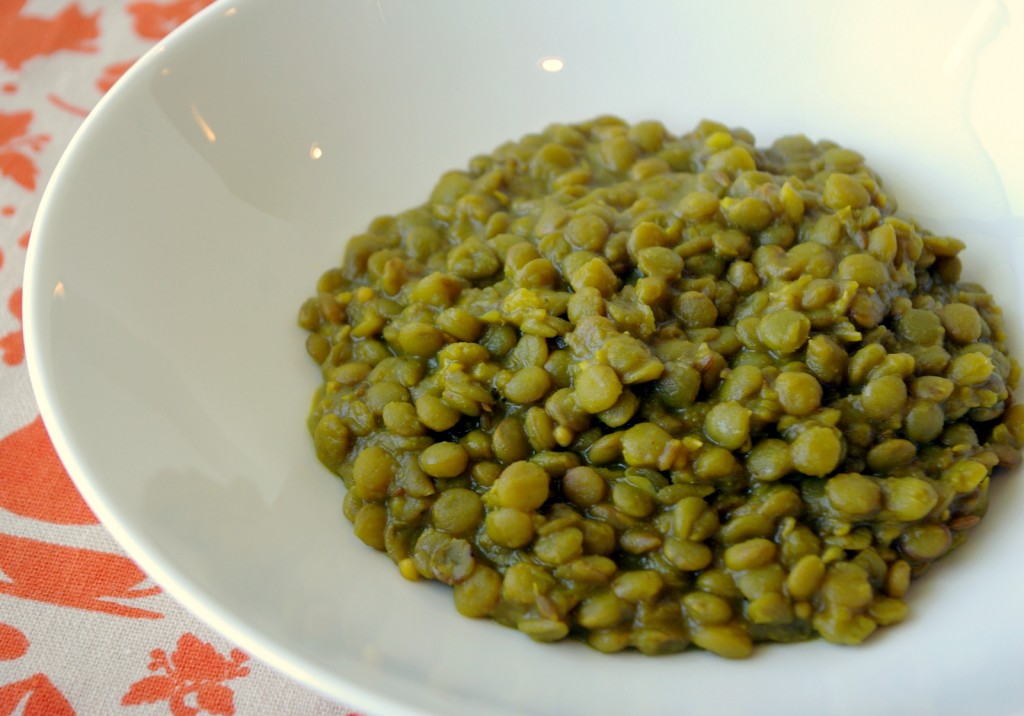
The end product was a lovely and hearty dish with a wonderful depth of flavor. Â I added a squeeze of lemon juice to brighten it up a bit. Â Serve with rice, quinoa, or naan!
